Despite some setbacks with this seat cushion, I’m pretty happy with this first attempt at a zippered box seat cover. Discovered I don’t have the zipper foot for my sewing machine, planning a jaunt into the quilt store sometime next week to pick one up. A zipper foot makes sewing piping much easier as you can get right up next to the cording without stitching through it or dealing with a wonky presser foot going over different thicknesses, though there are also piping and corded piping presser feet available as well.
some woobles in the piping towards the back where it’s unlikely anyone will see one the chair’s completed
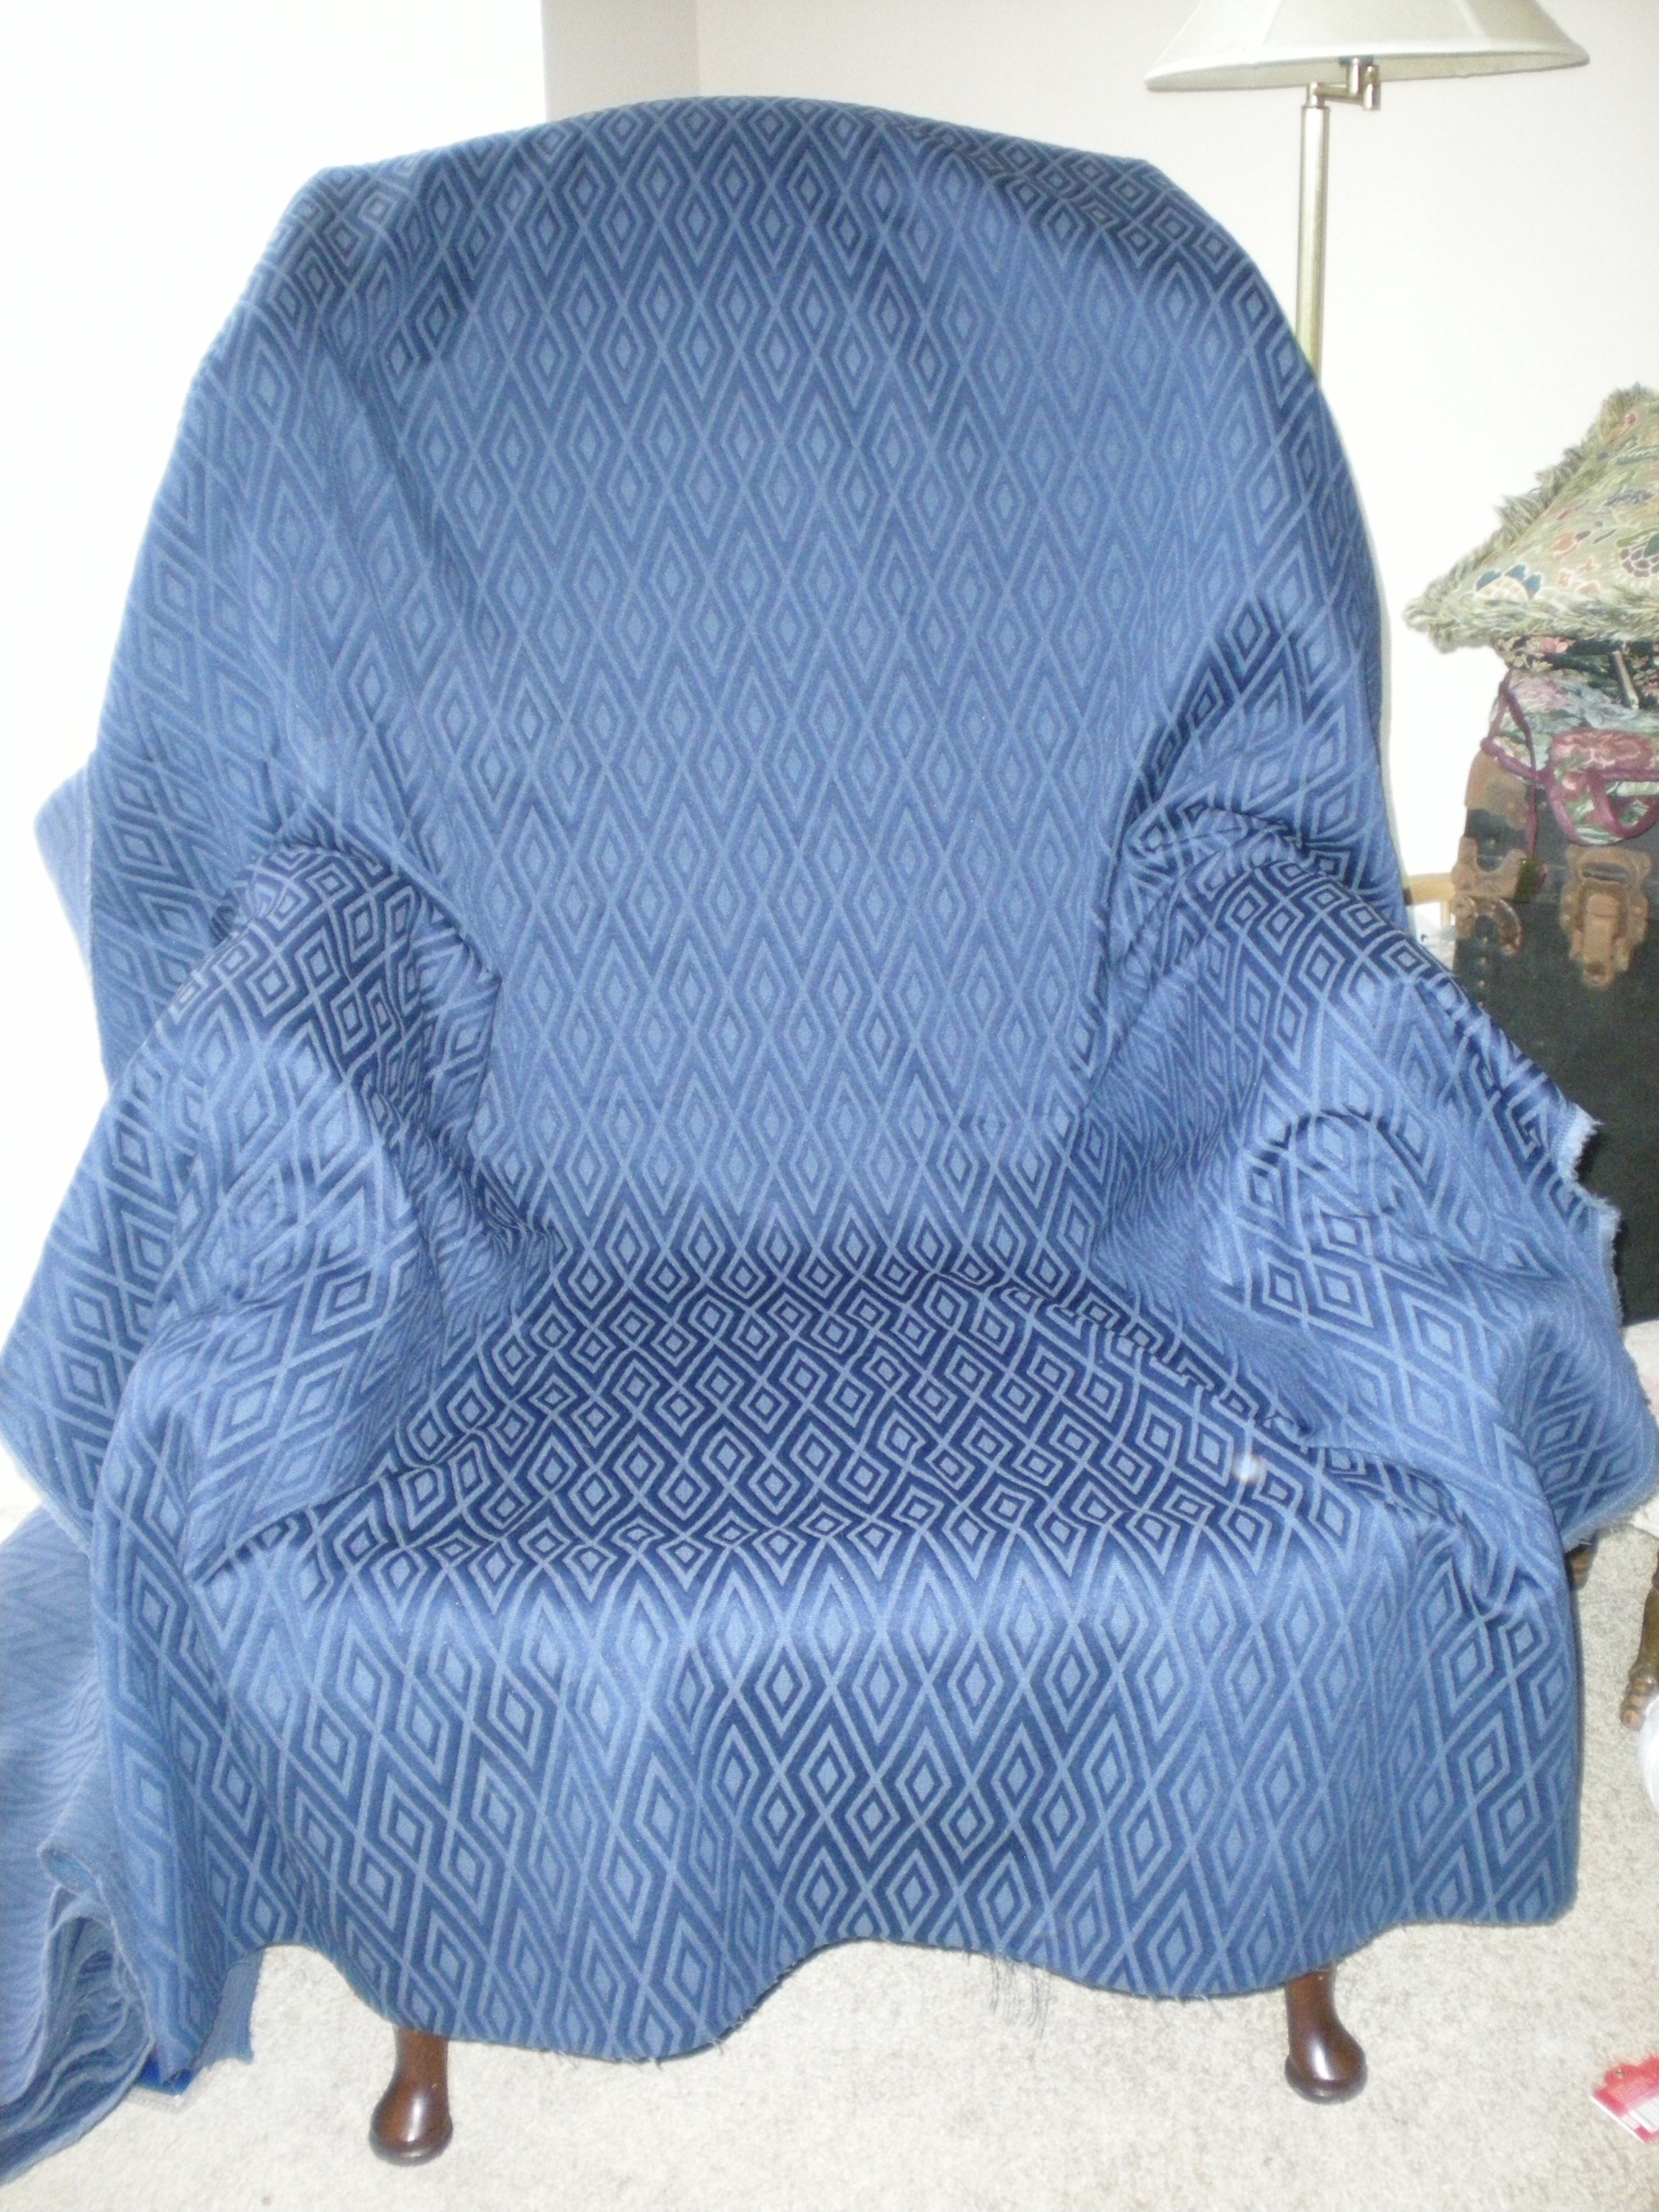
Until I learn how to use the compressor and pneumatic stapler, I can’t do much more on the chair itself, but I can get the other pieces cut and piping made. Here’s a preview, I’m thinking it’s going to look great if I can just persevere.
I’ll smooth out the front later, but I was just so anxious to get a sense of how it’ll look!
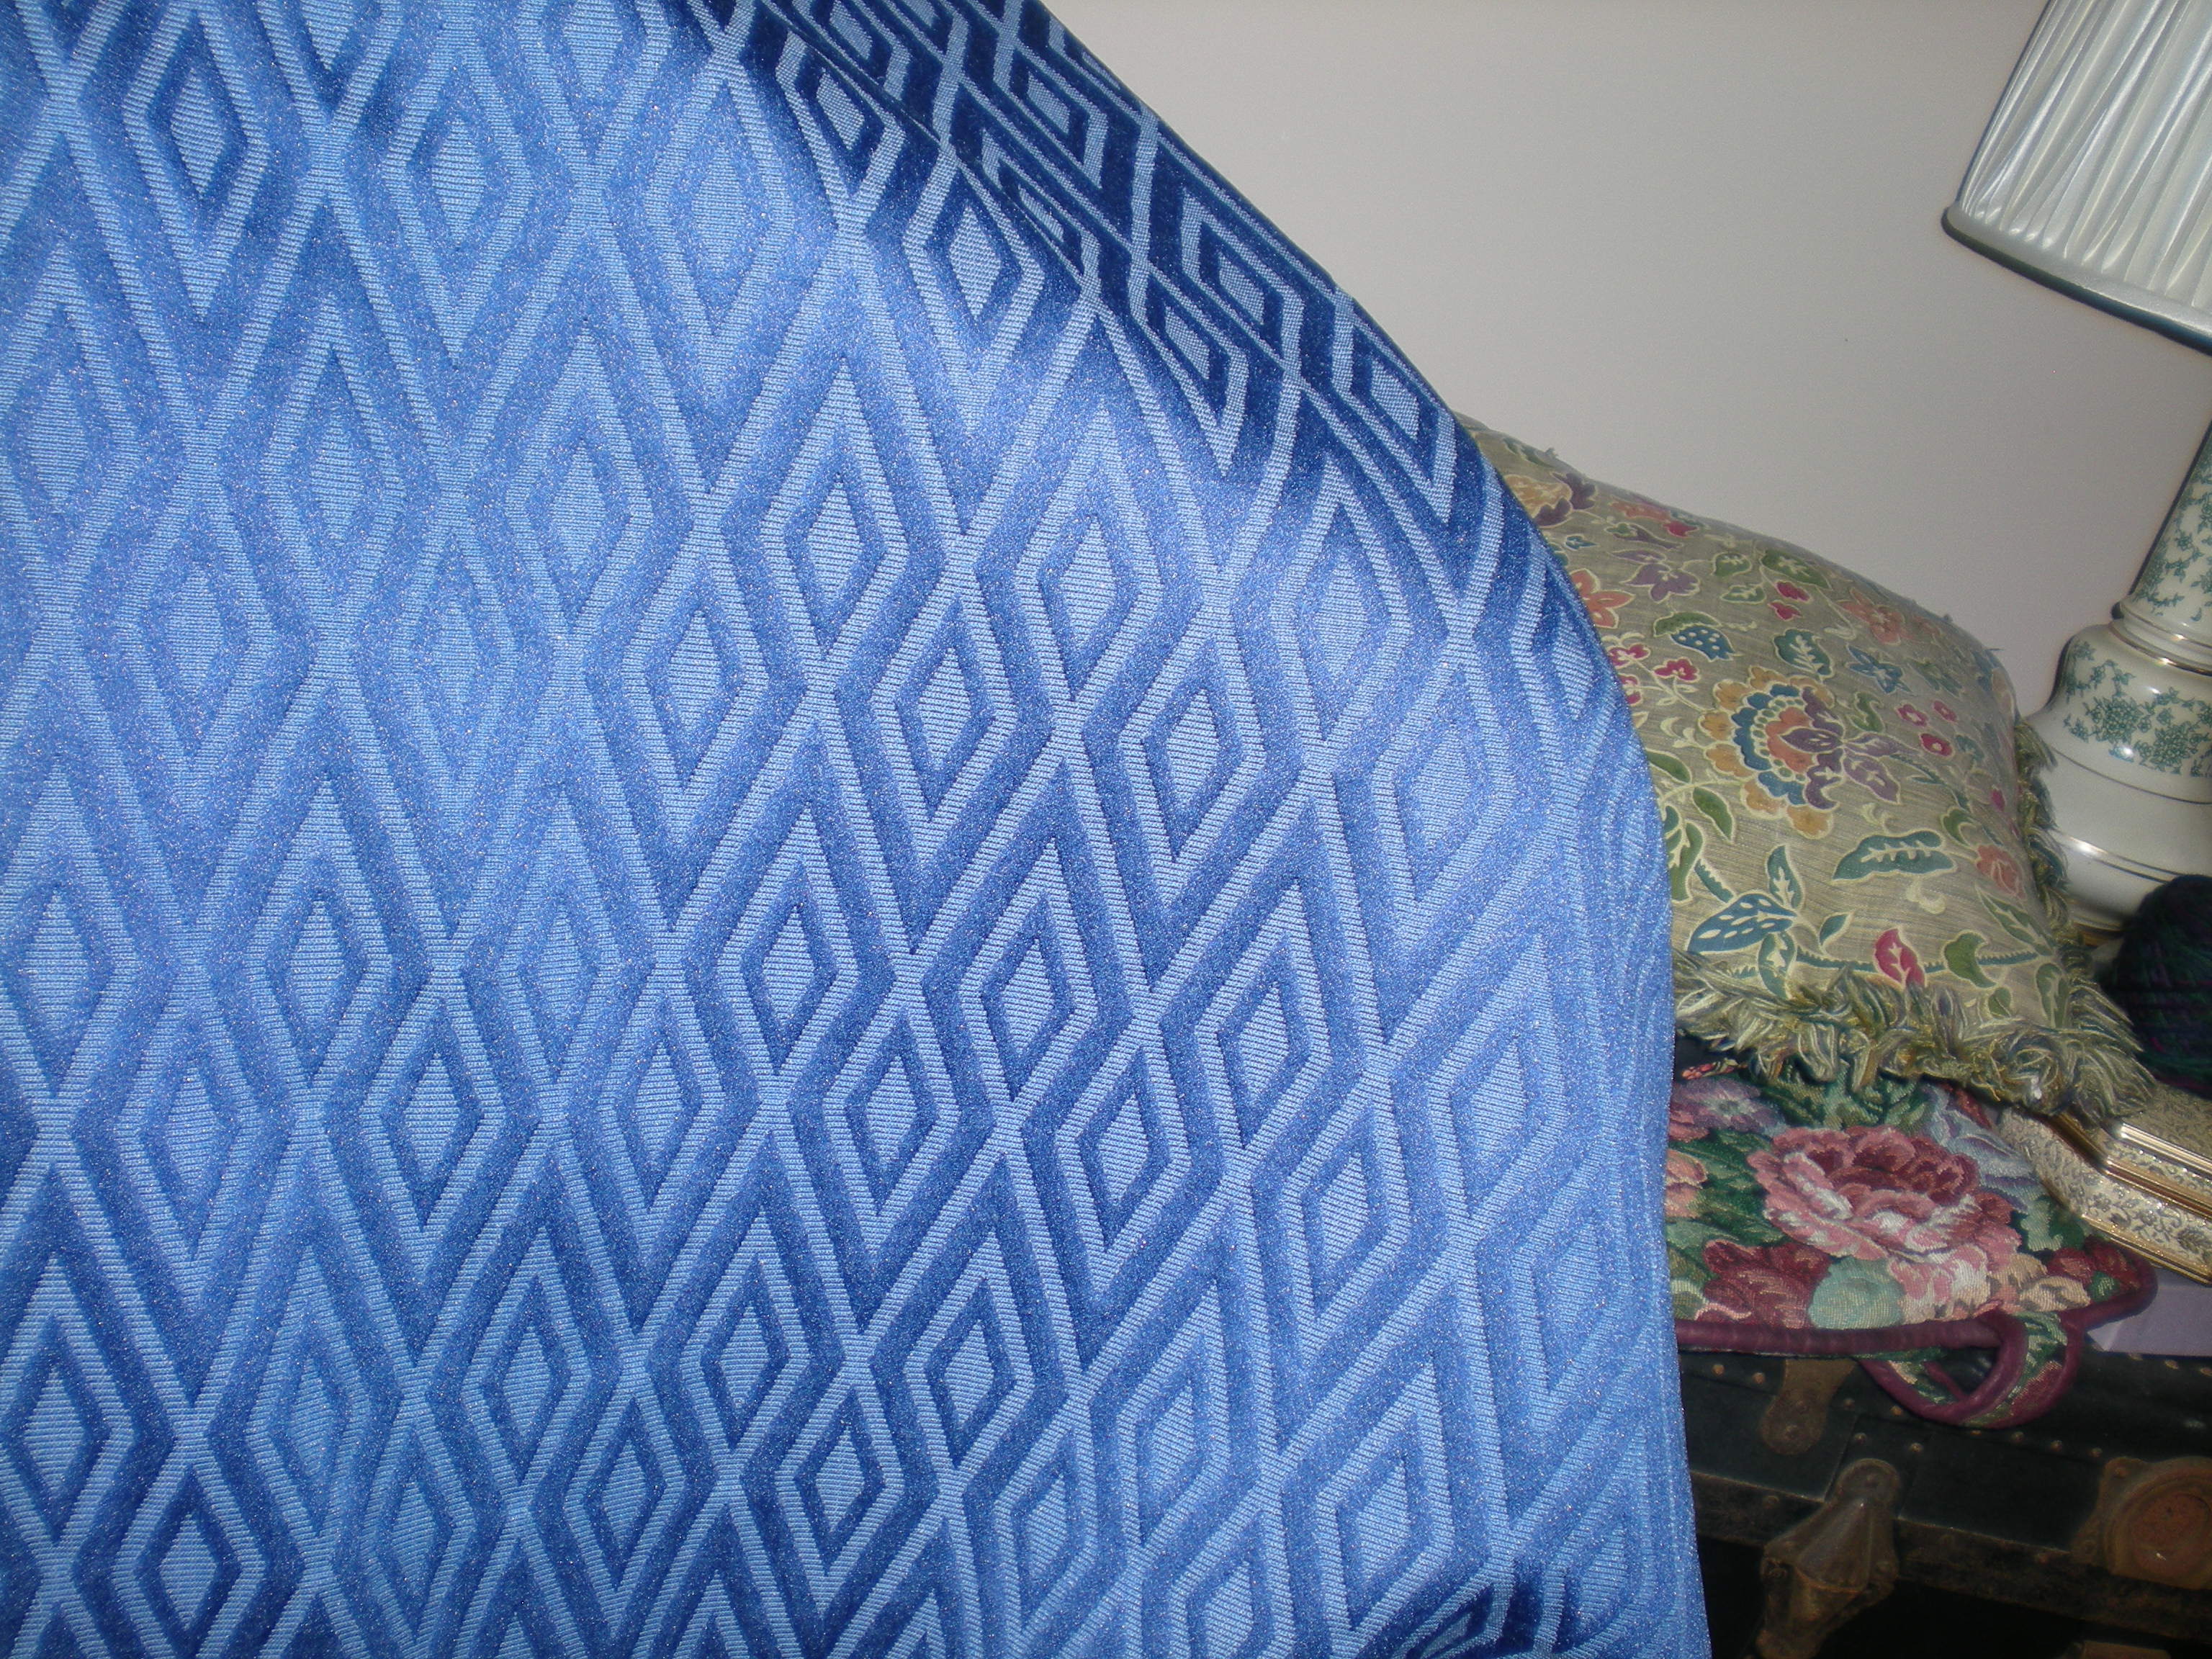
Still have the piping to cut and sew, and the inner arm pieces get machine sewn as well, but all of the other pieces are cut now. Waiting for some cotton duck to make the decking though the curved piece (those are darts, like tucks, that change a straight piece into a curved piece) at the bottom of the picture is what connects with the plain fabric to make the chair deck.
The paler piece in the upper right shows the reverse or wrong side of the fabric.
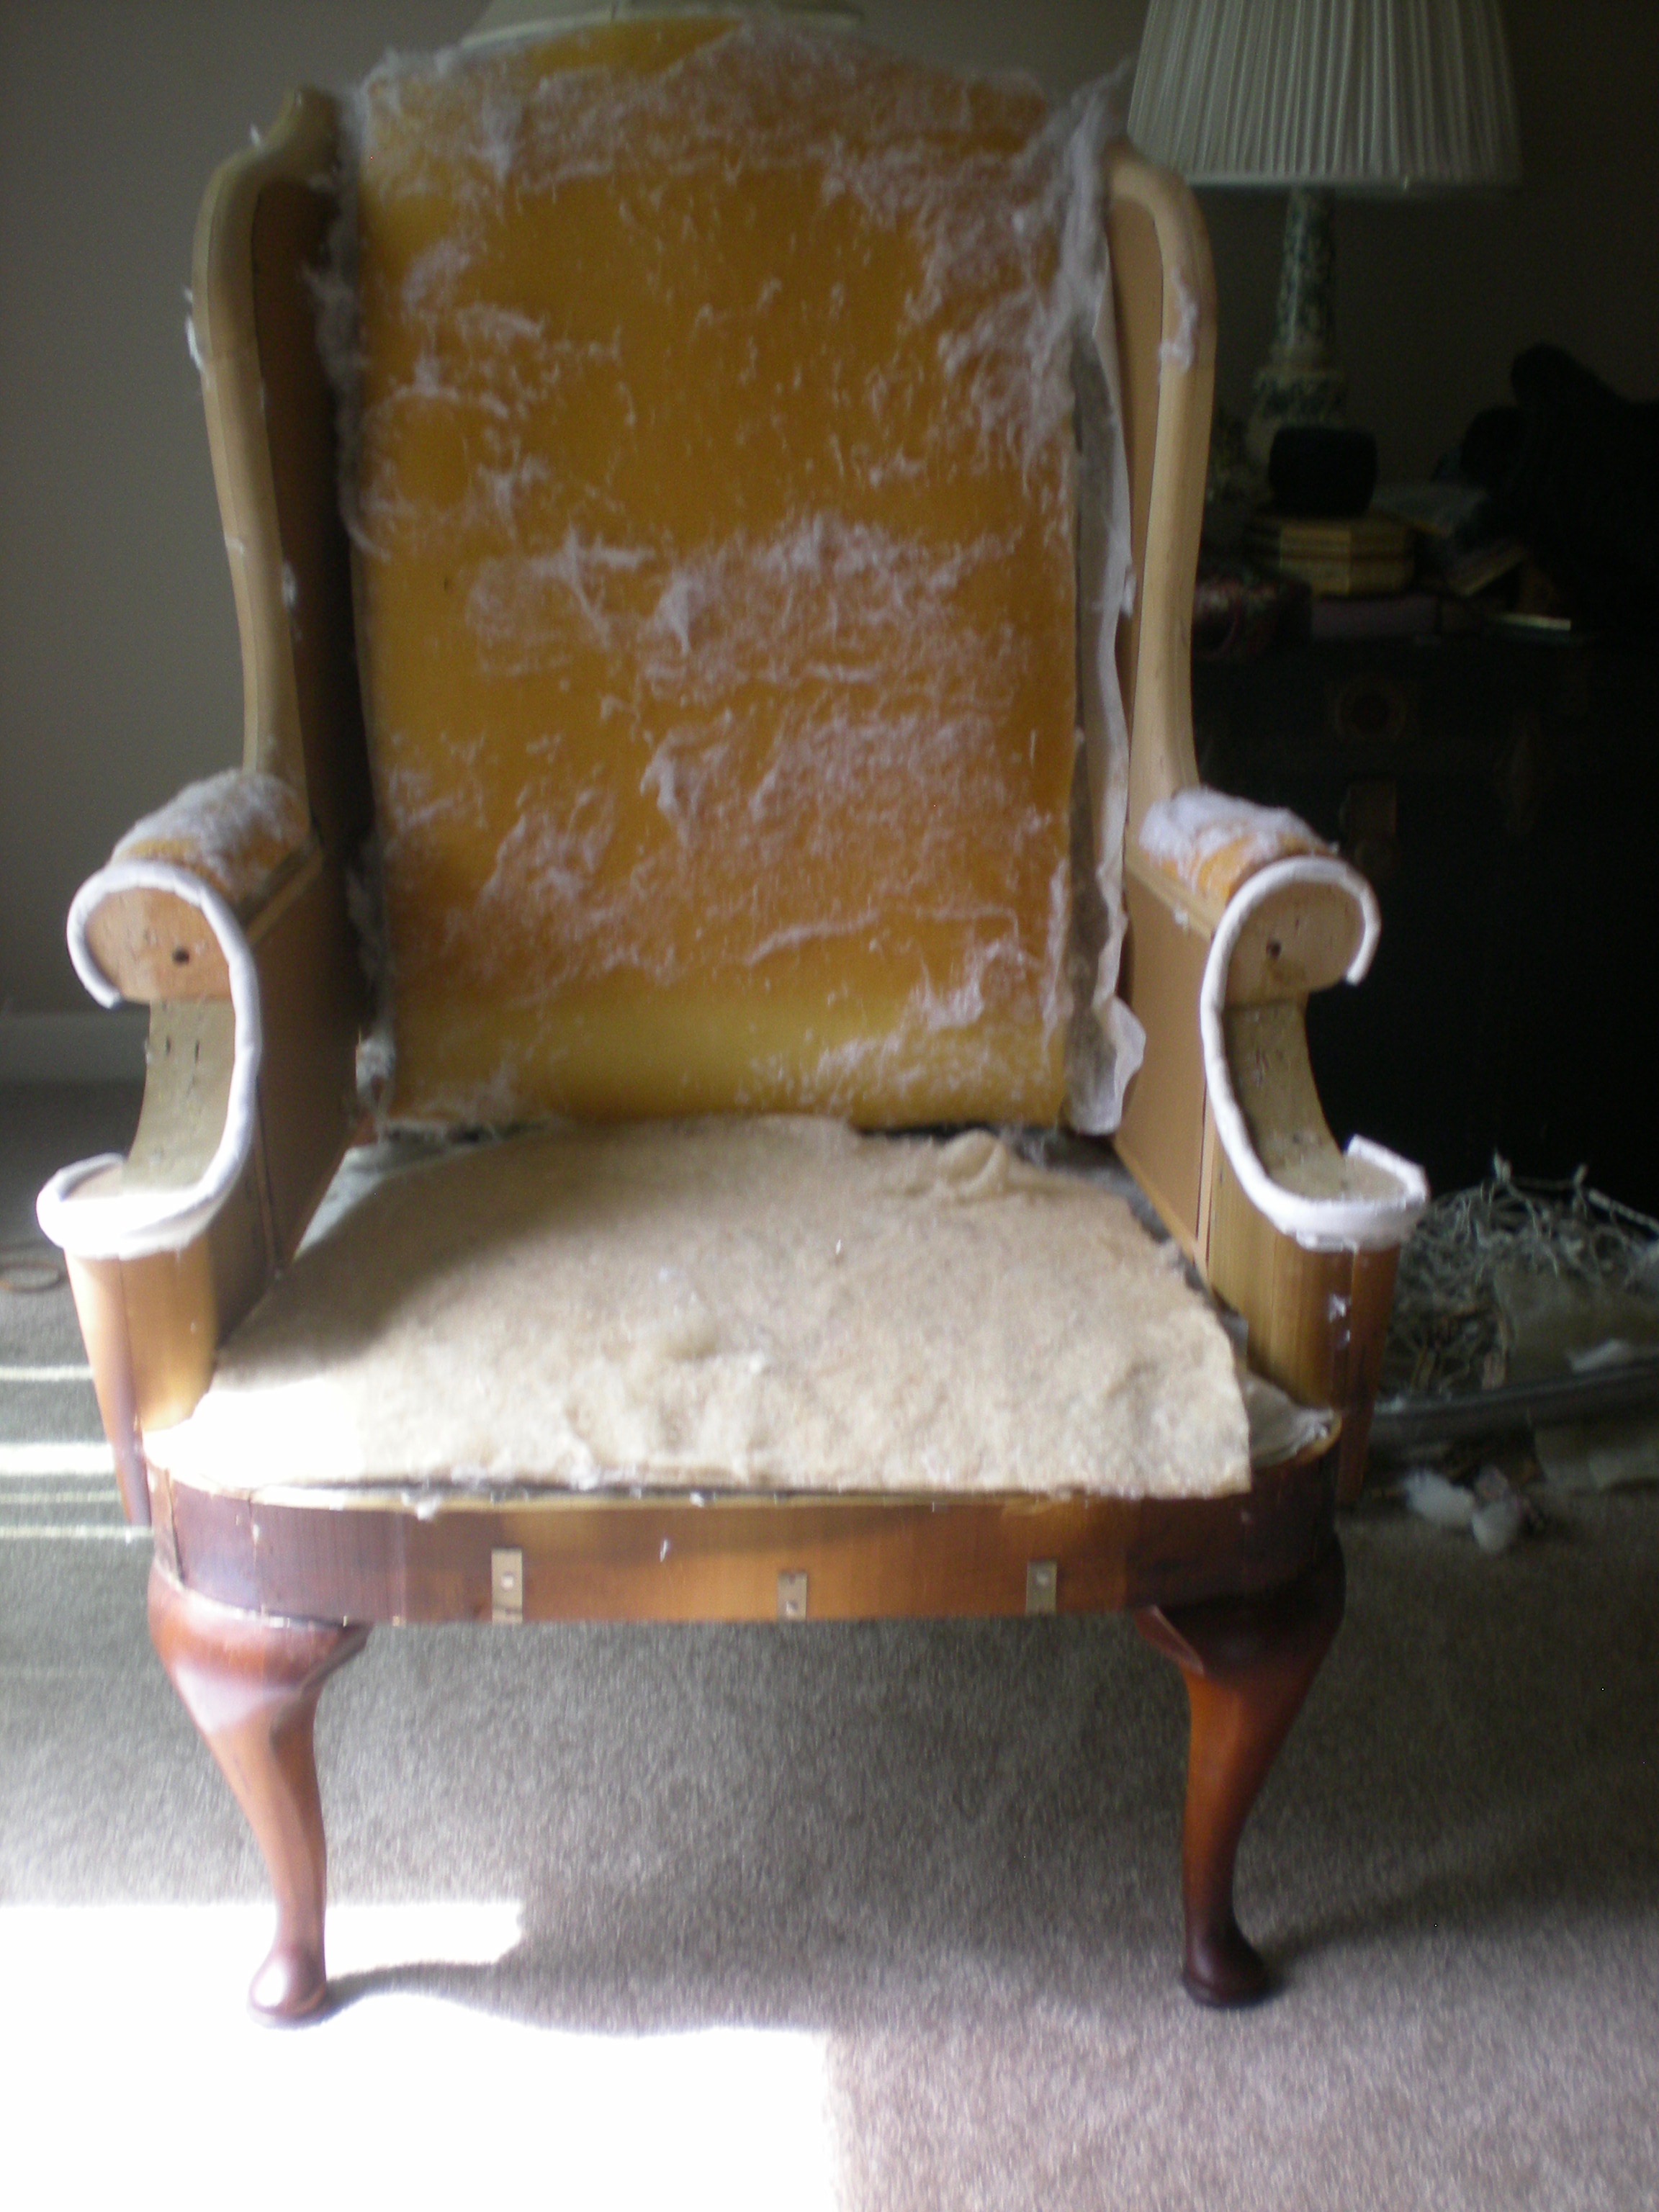
After several years of one thing or another, with a pandemic thrown in for good measure, I’m finally getting back to working on the chair I’d stripped while I’d been hunting for the home I’m now living in. So much has happened since I stopped posting regularly, and while I will someday tell the story of why I had to step away from both working on and documenting the progress on the house, it is not this day. This day is about working with pieces of the old upholstery (kept as templates for the new pieces) and some documentation of what I’m seeing so I can replicate it with the new fabric.
I’ve not yet learned how to use the compressor I’d bought to do all the stapling required in upholstery work, so I’m tackling the seat cushion first, no stapling involved. Up until this morning the old cover was in one piece, but now it’s in three: top, bottom, and side. The side includes a zipper, and the cushion was piped, and the construction is a bit different from what one would see in a home decorating book.
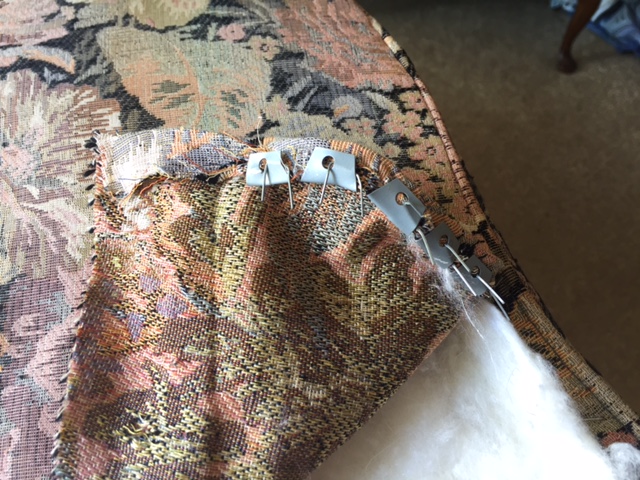
First, the piping is part of the side piece, a 6 inch wide strip of fabric that wraps around the entire cushion, connecting the top and bottom pieces. In this instance, it is actually three strips, with one being the insert for the zipper. The zipper itself is about 26 inches (it’s made by attaching a zipper pull to the length of zipper teeth, not premade as one would purchase from a fabric store). It is a center-lap construction, with a length of fabric attached at both ends, one at about 6-8 inches, the other the required length to encircle the cushion.
From what I can tell, the process is attach lapped fabric sides to the zipper, creating the zipper insert, attach zipper insert to both the short piece and the longer piece (with the pull at the shorter fabric end of the insert when closed), and then the piping is added to both edges of the side fabric, with the center measuring 2 1/2 inches between the piping.
Side strip with zipper insert, zipper closed with pull to the left, towards short extension
Entire side piece, short extension, zipper insert, long extension, with piping intact.
The zipper is white, and with the blue fabric planned for this chair, a darker zipper is in order, even though it’s unlikely anyone will see it. There’s also thread to be purchased, and while I have an abundance of piping, it’s all cotton and bigger than the original, so I’m going to have to do some experimenting to see if the larger piping will look good. For now, I’ll make a template from one of the front/back pieces to cut those from the fashion fabric, plus one 6″ and one 58″ piece for the extensions, as well as two 28″ x 3.5″ pieces for the zipper insert. Once these pieces are cut, looks like a trip to the local Joann’s is in order.
Just for reference, here’s the disassembled top and bottom pieces.
As can be seen, the original fabric is quite worn and stained, the left piece being the top.
To make the template, I’ve ironed the right one, to flatten all the seam allowances, folded it in half lengthwise, and will then outline it on some of the lovely packing paper we’ve been collecting since the pandemic forced us to resort to online/mail order much more frequently than we’d normally do.
Patterm template ready to cut…
Top, bottom, side pieces ready for a zipper to be sewn, piping added, then all sewn together.
Tomorrow, masking up and heading to Joann’s, we’ll see if they have everything needed to proceed. For now, a sense of movement!
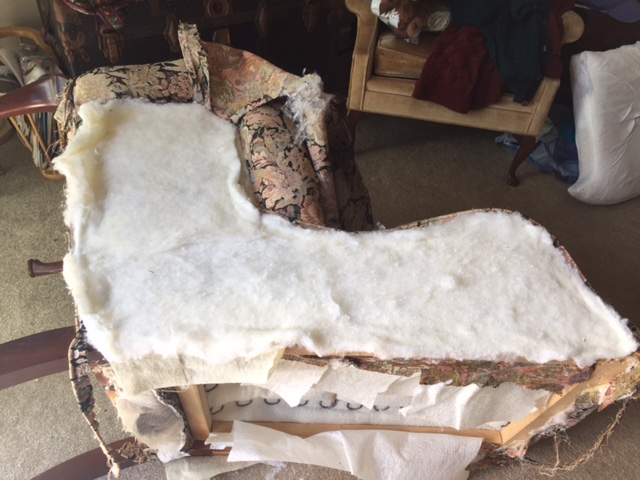
Or at least as naked as it’s going to get…I’m not replacing that foam at the back, not this time for this chair, maybe if I try this again, with a piece more worthy.
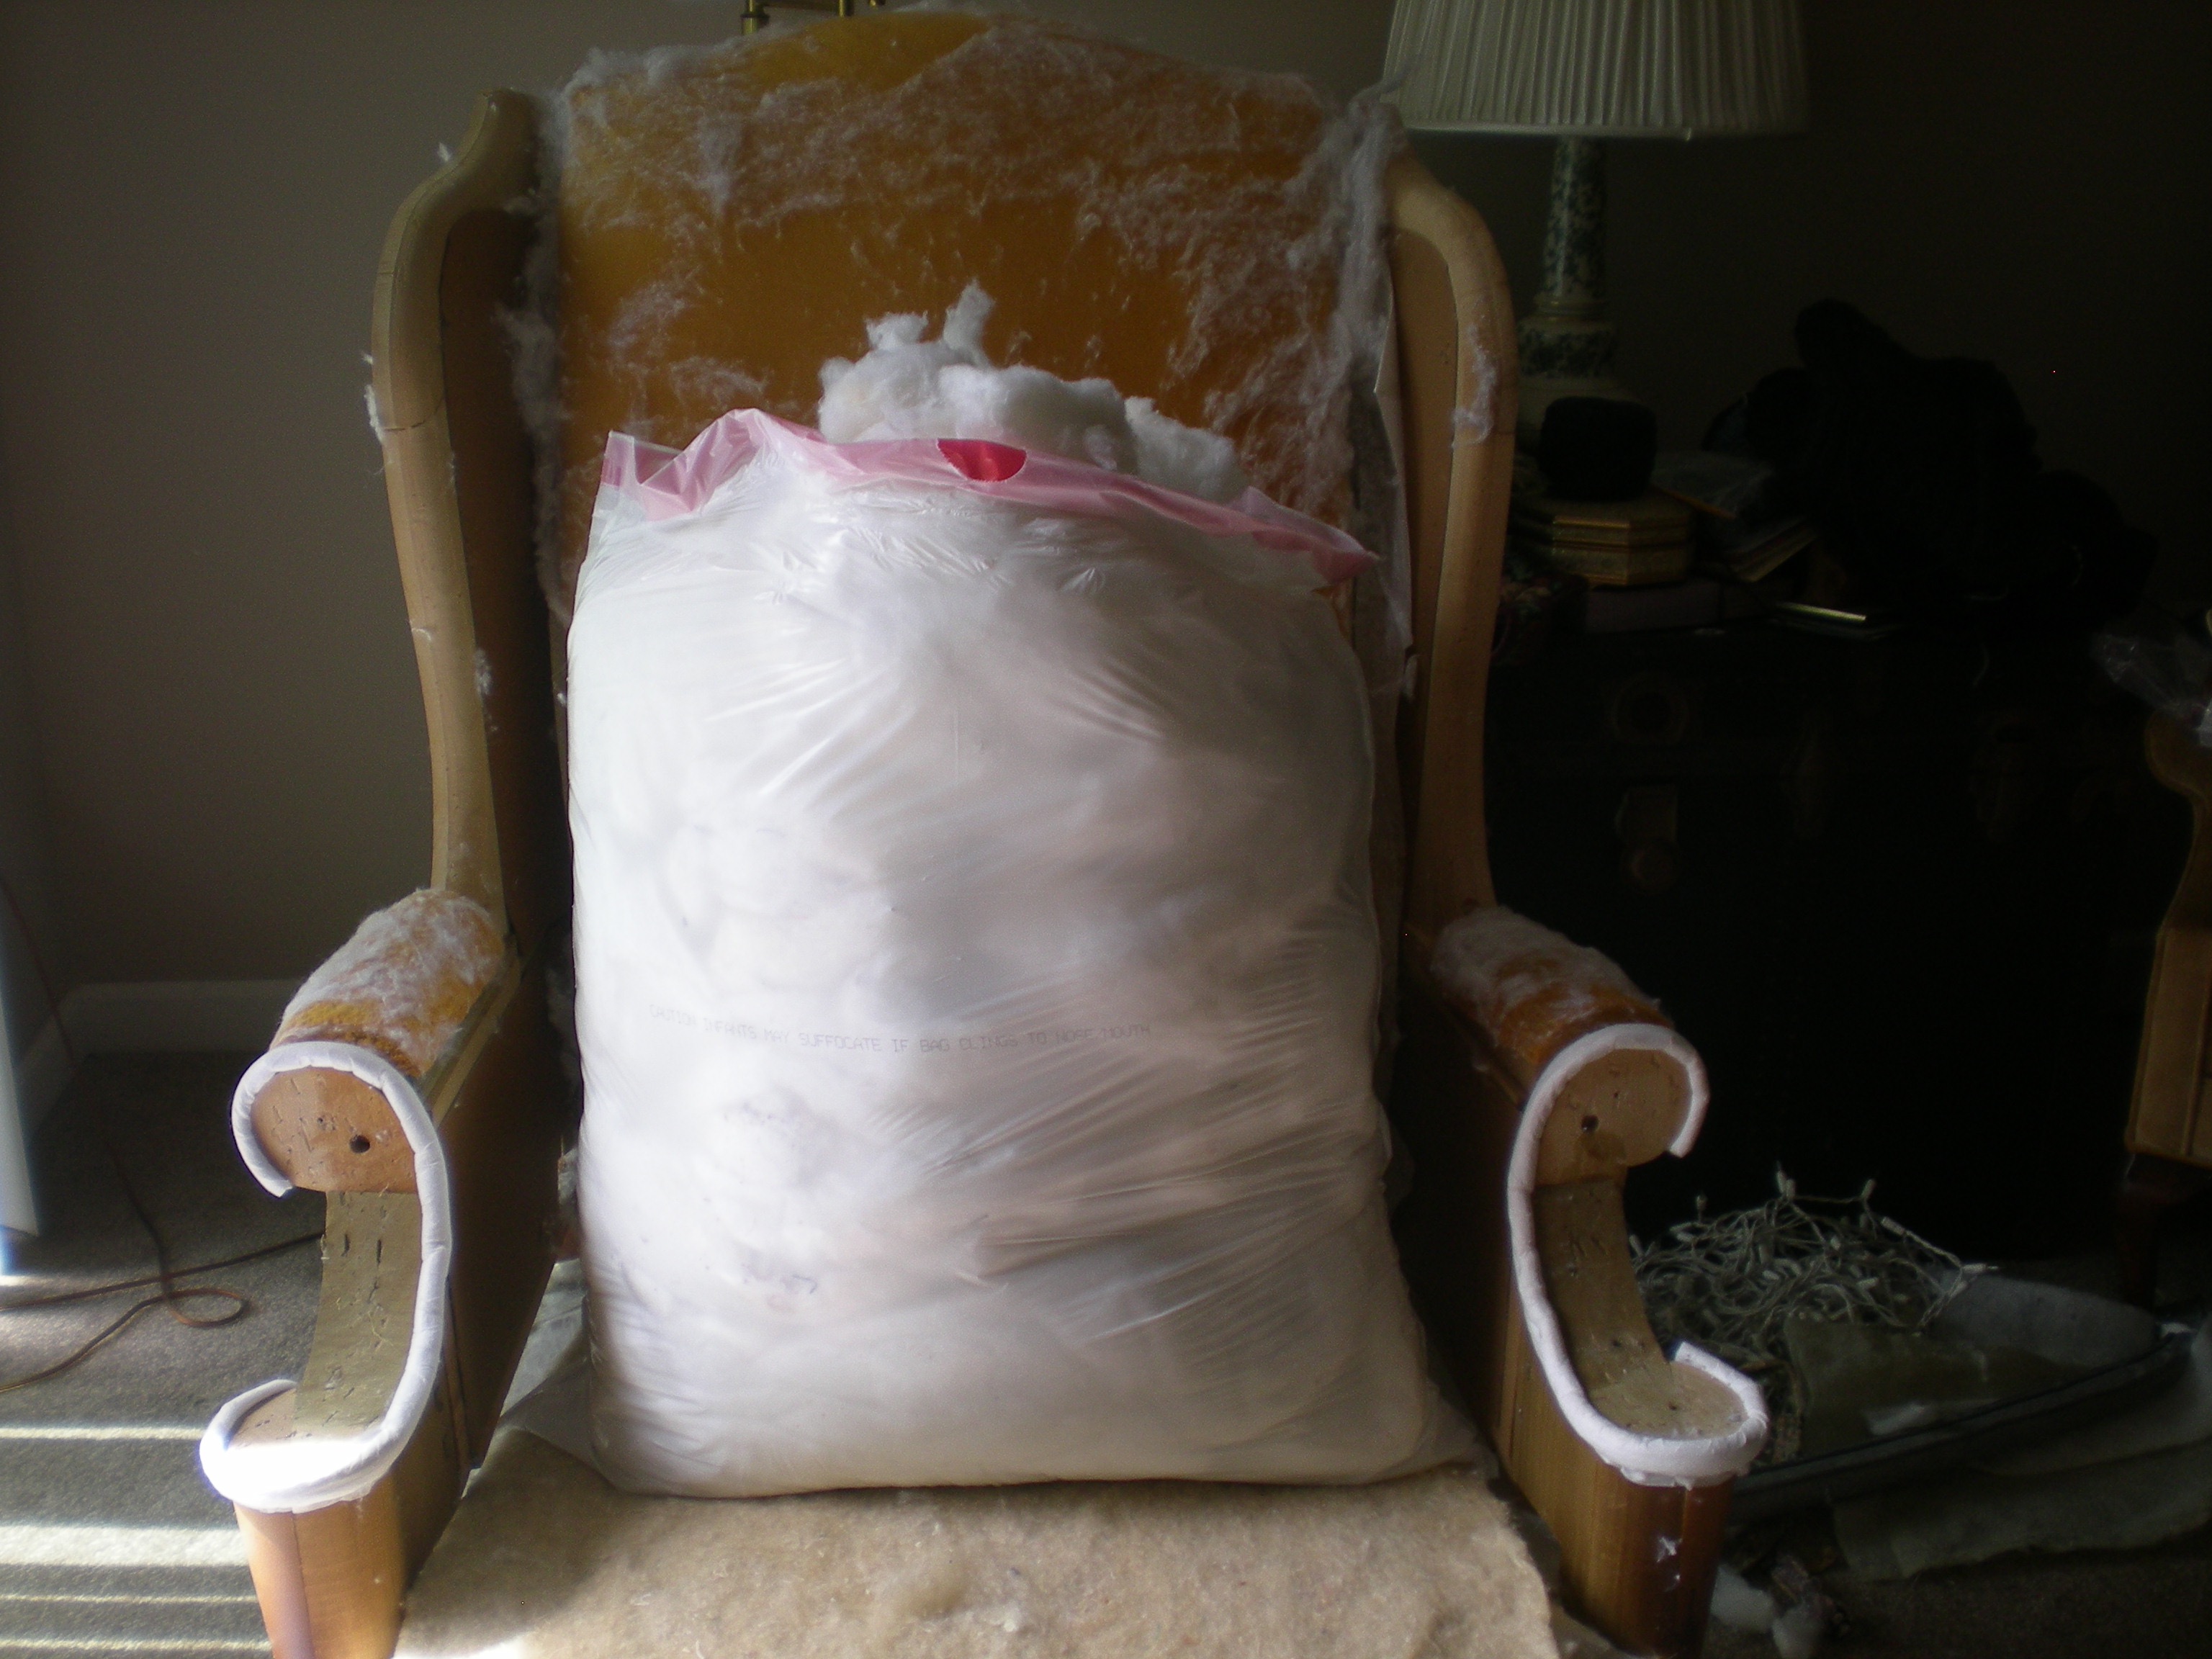
And just for the visual:
all the fluff
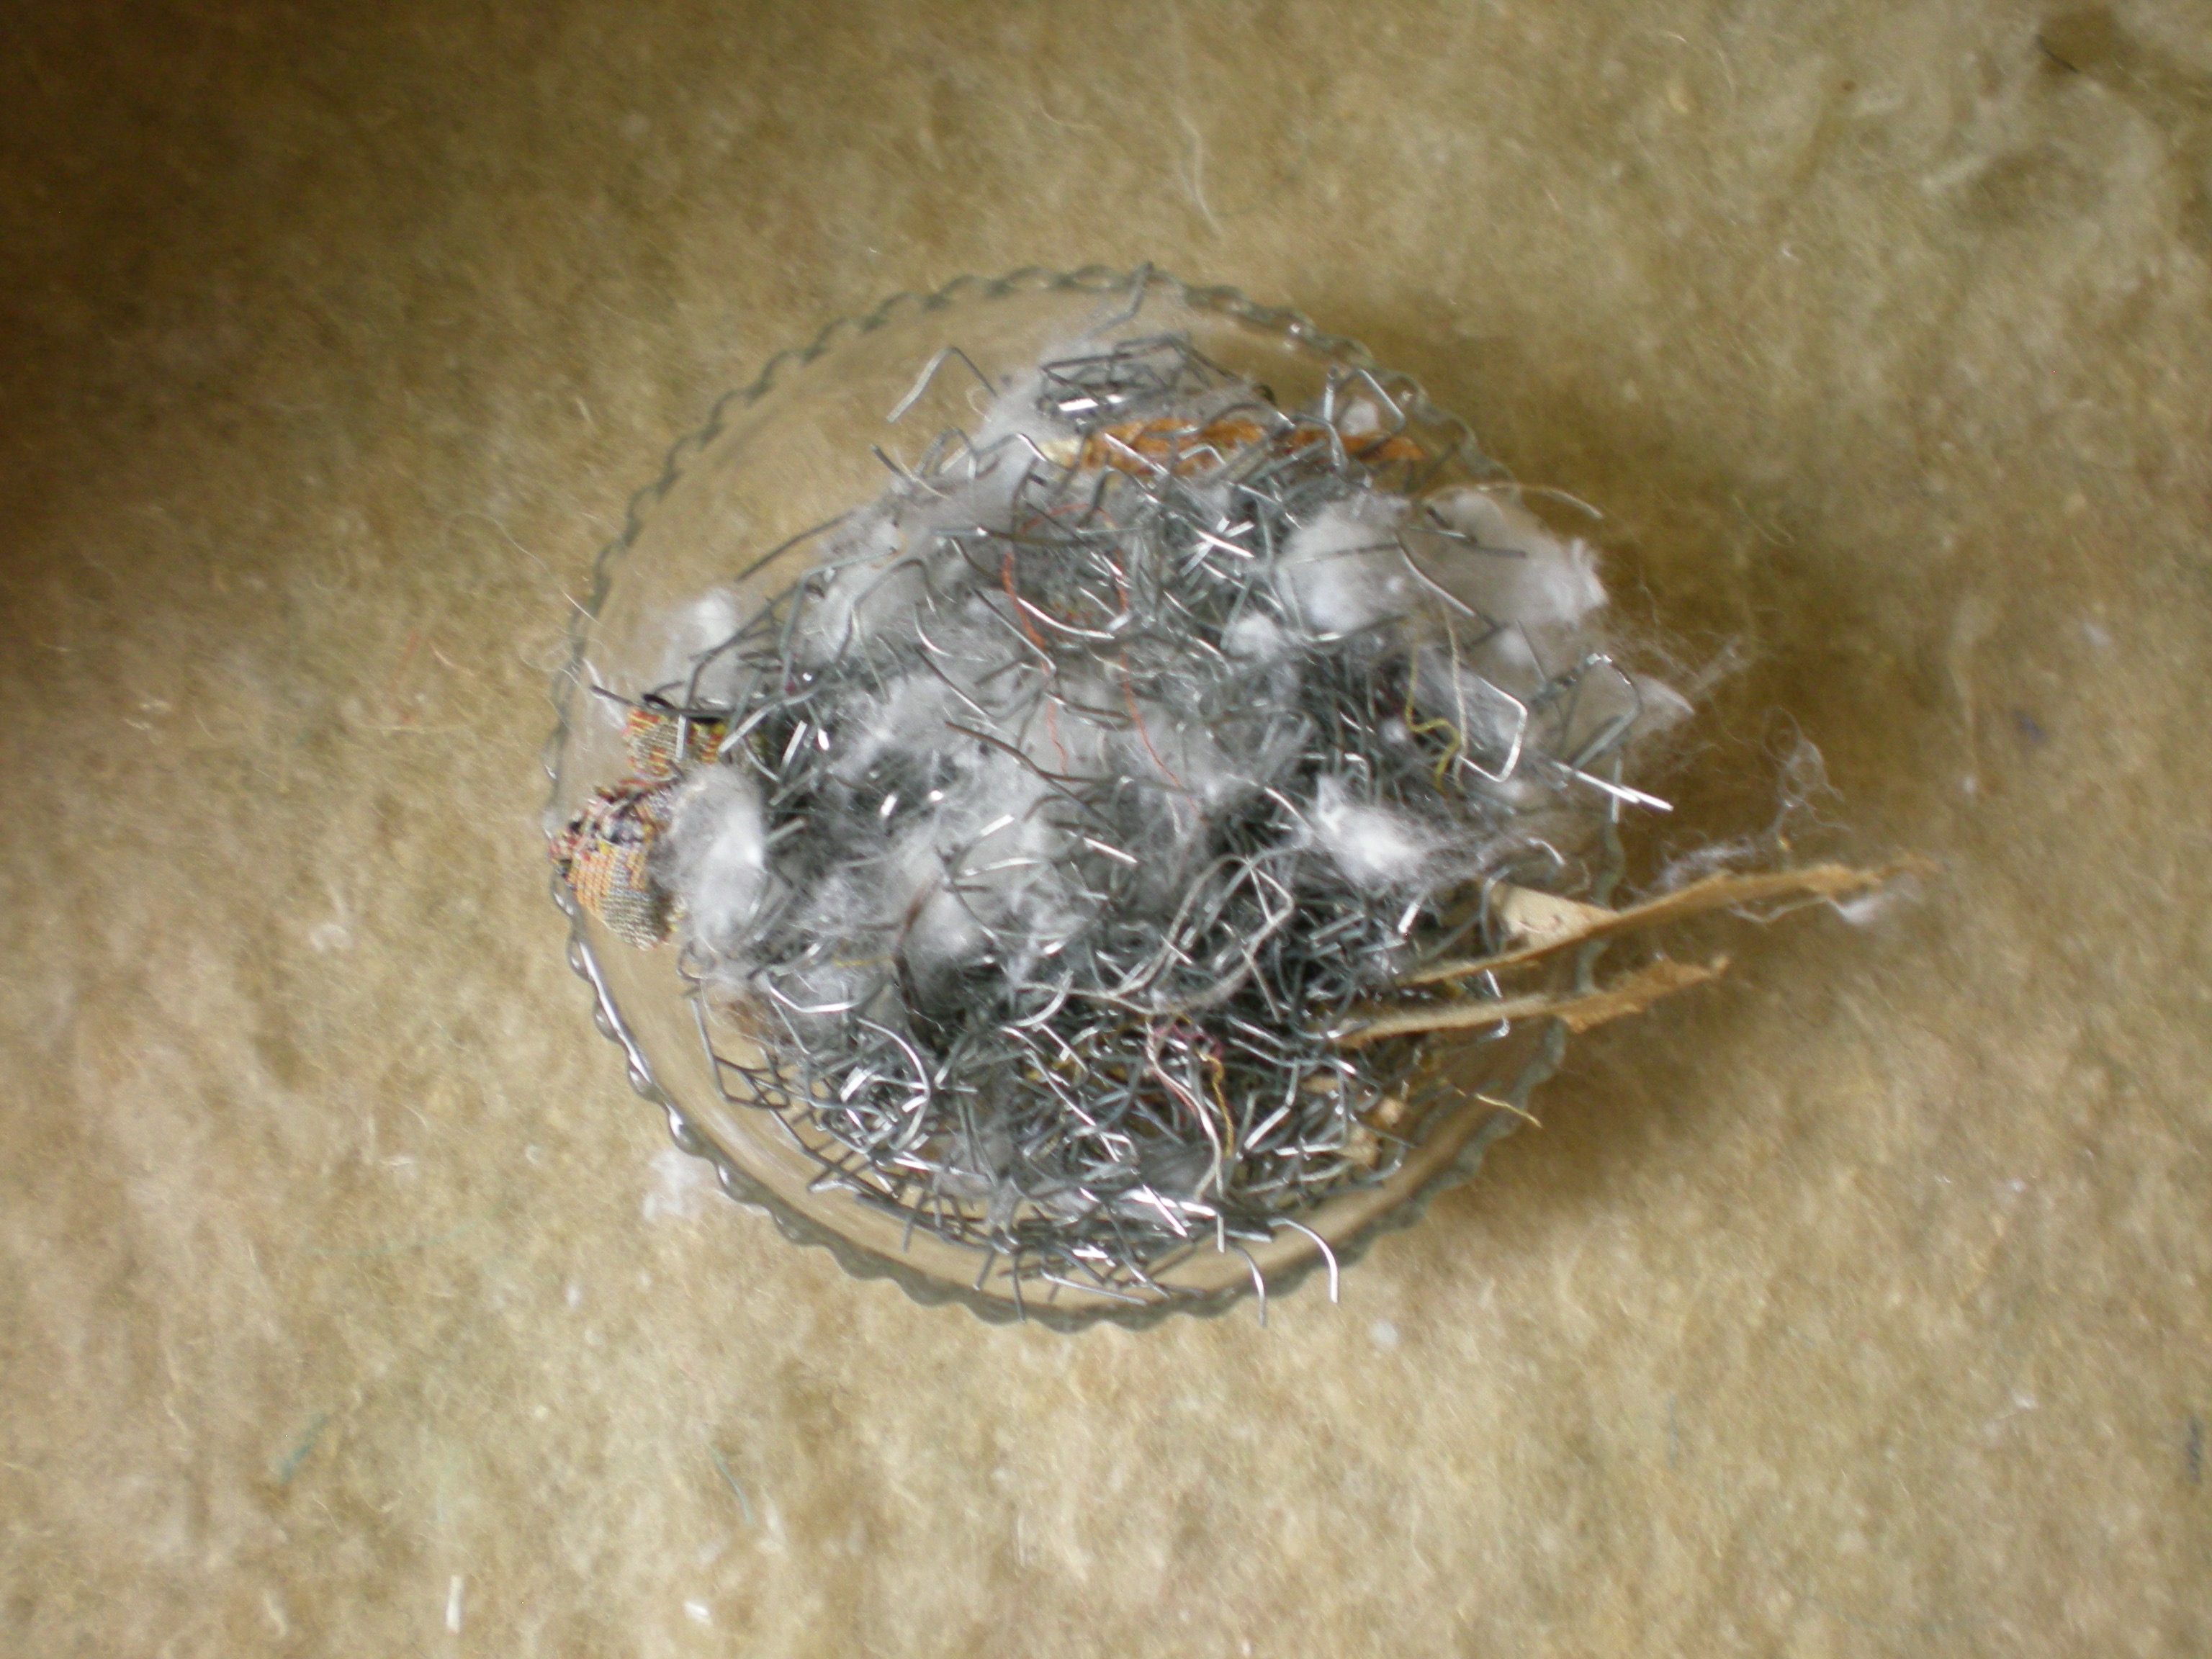
Vacuumed up the mess, adding one more picture, this of the bowl of staples (with other detritus mixed in) and then it’s a break from the project as we order more cotton stuffing, welting, get some muslin, and generally take a step back. While we wait, we’ll take all the metal off the back and side pieces, and lay them out to use as pattern templates. Three days in, probably about 18 hours of work so far, though that may be on the high side.
We didn’t start until after noon, but we’d hoped to get to the naked chair…alas…
First, ready to work on the sides:
Pulling away the curved top of the side piece reveals…
nasty metal teeth!
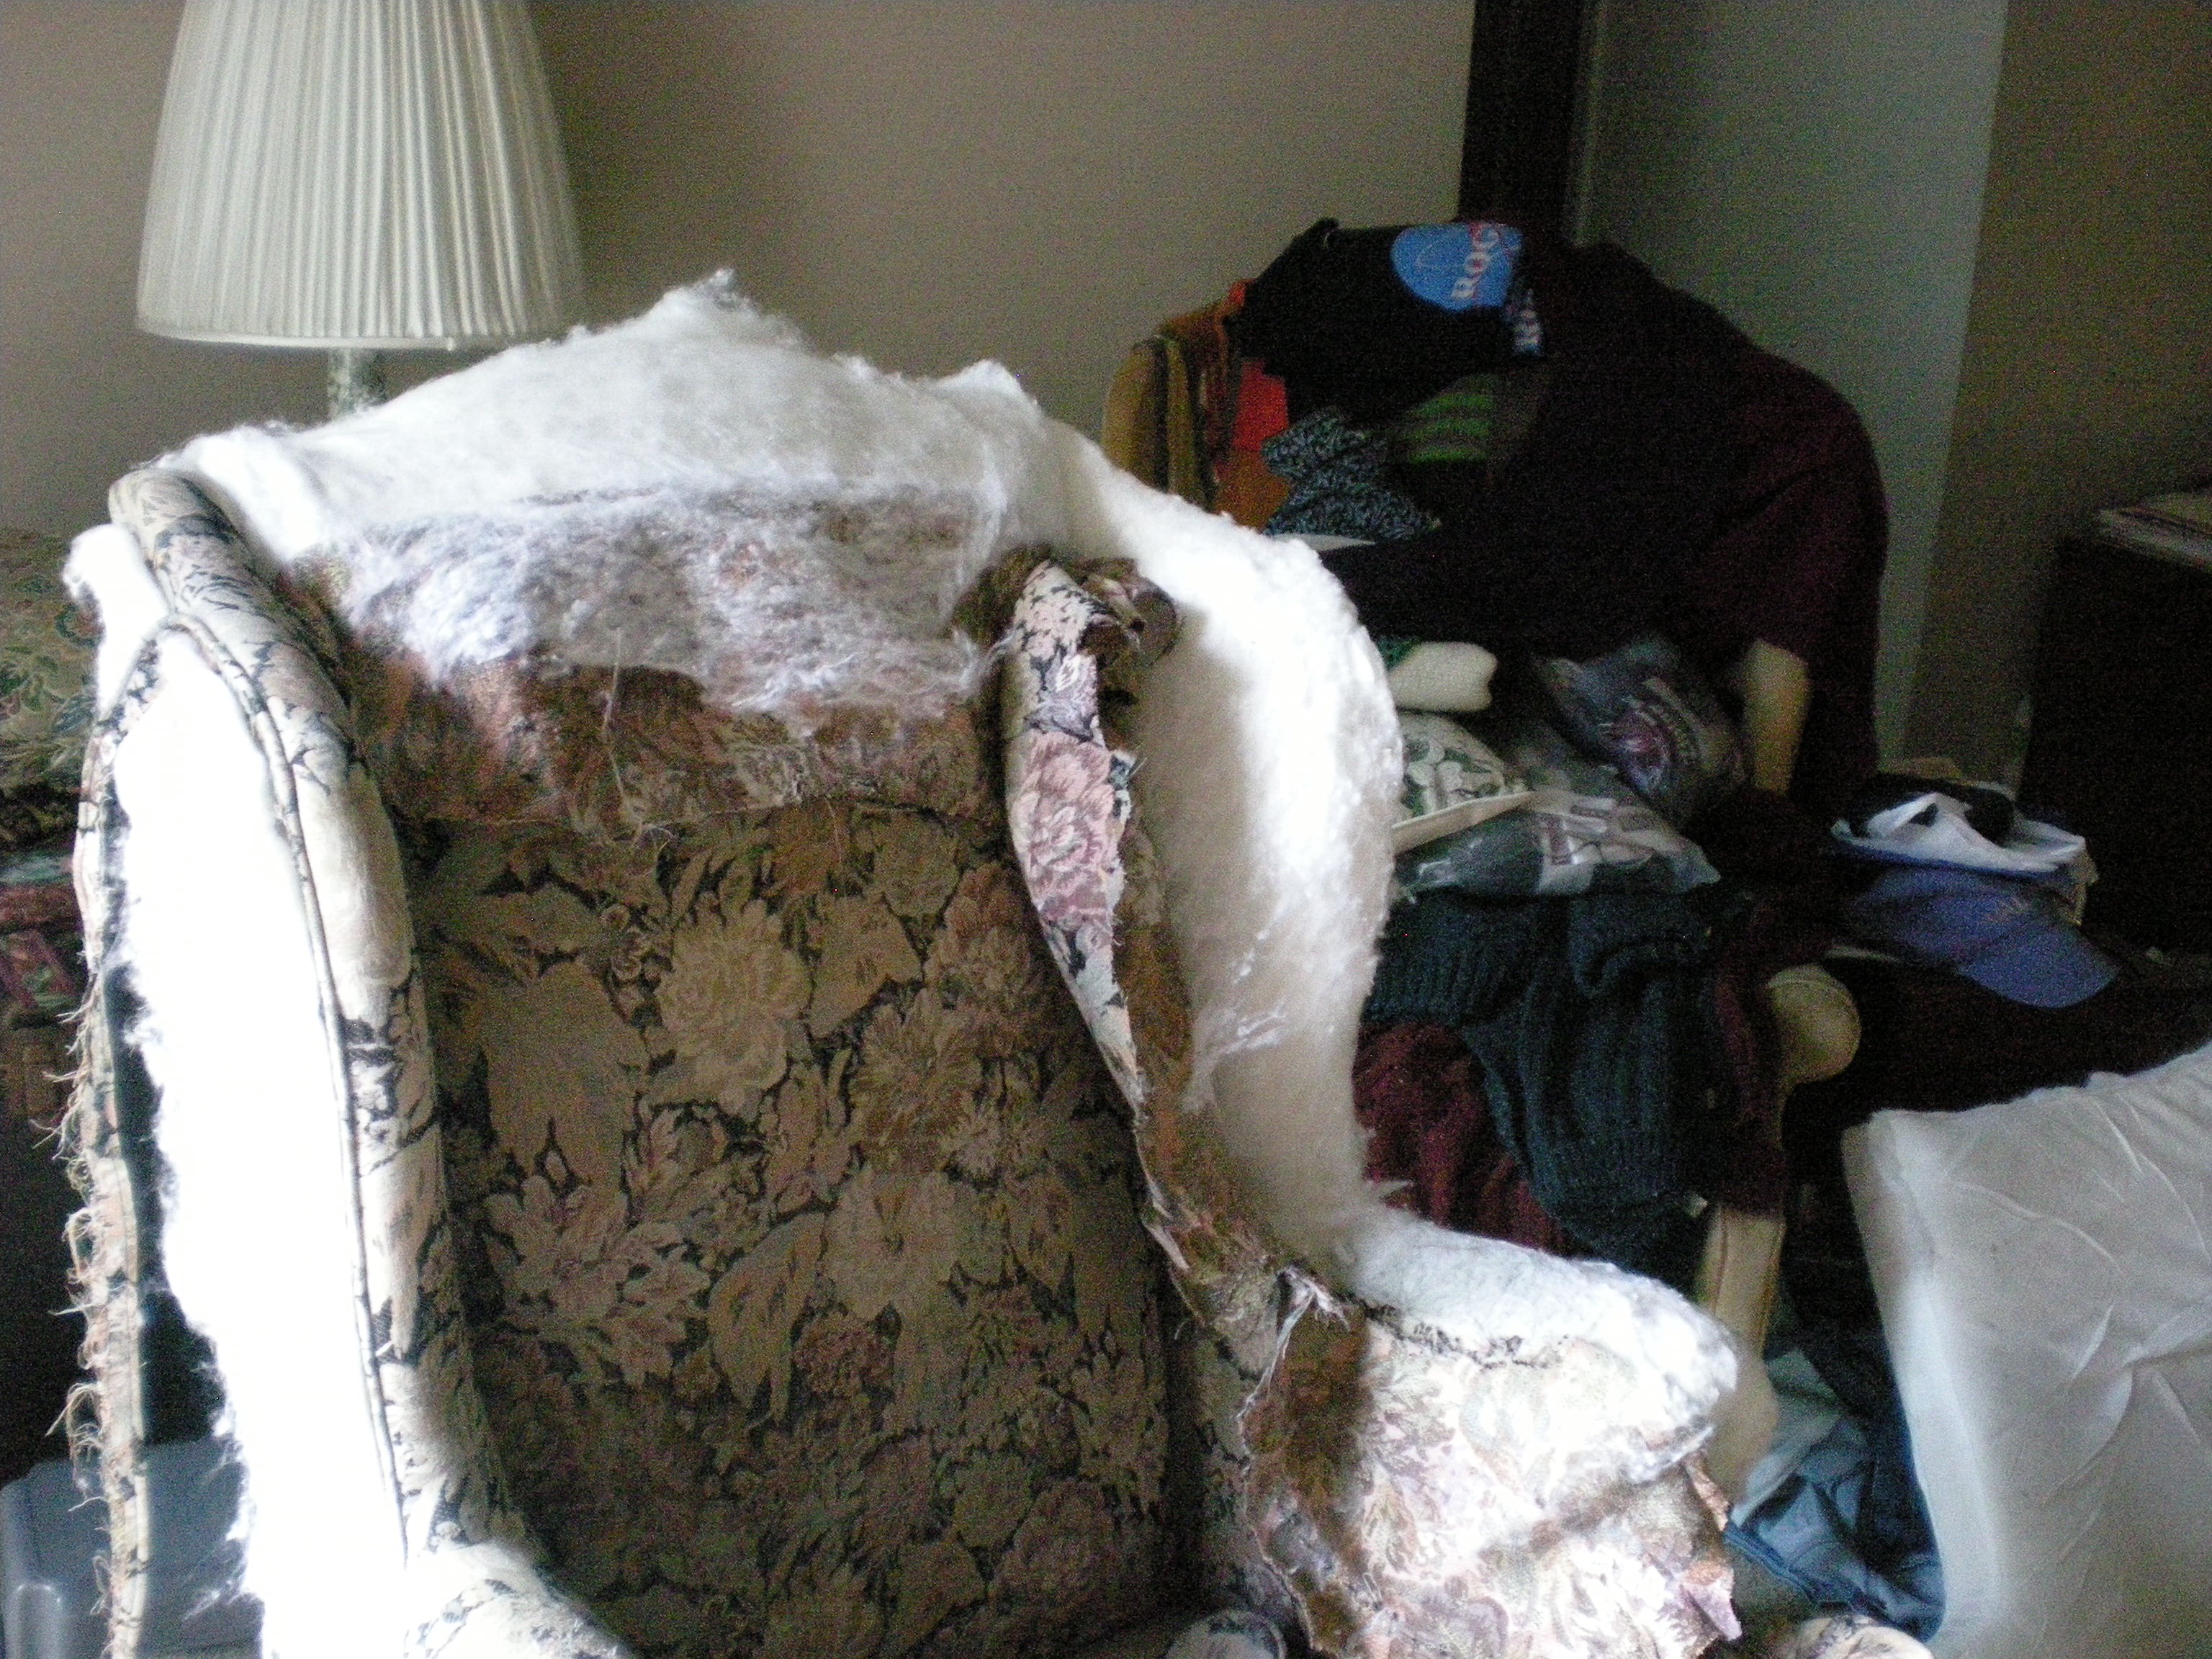
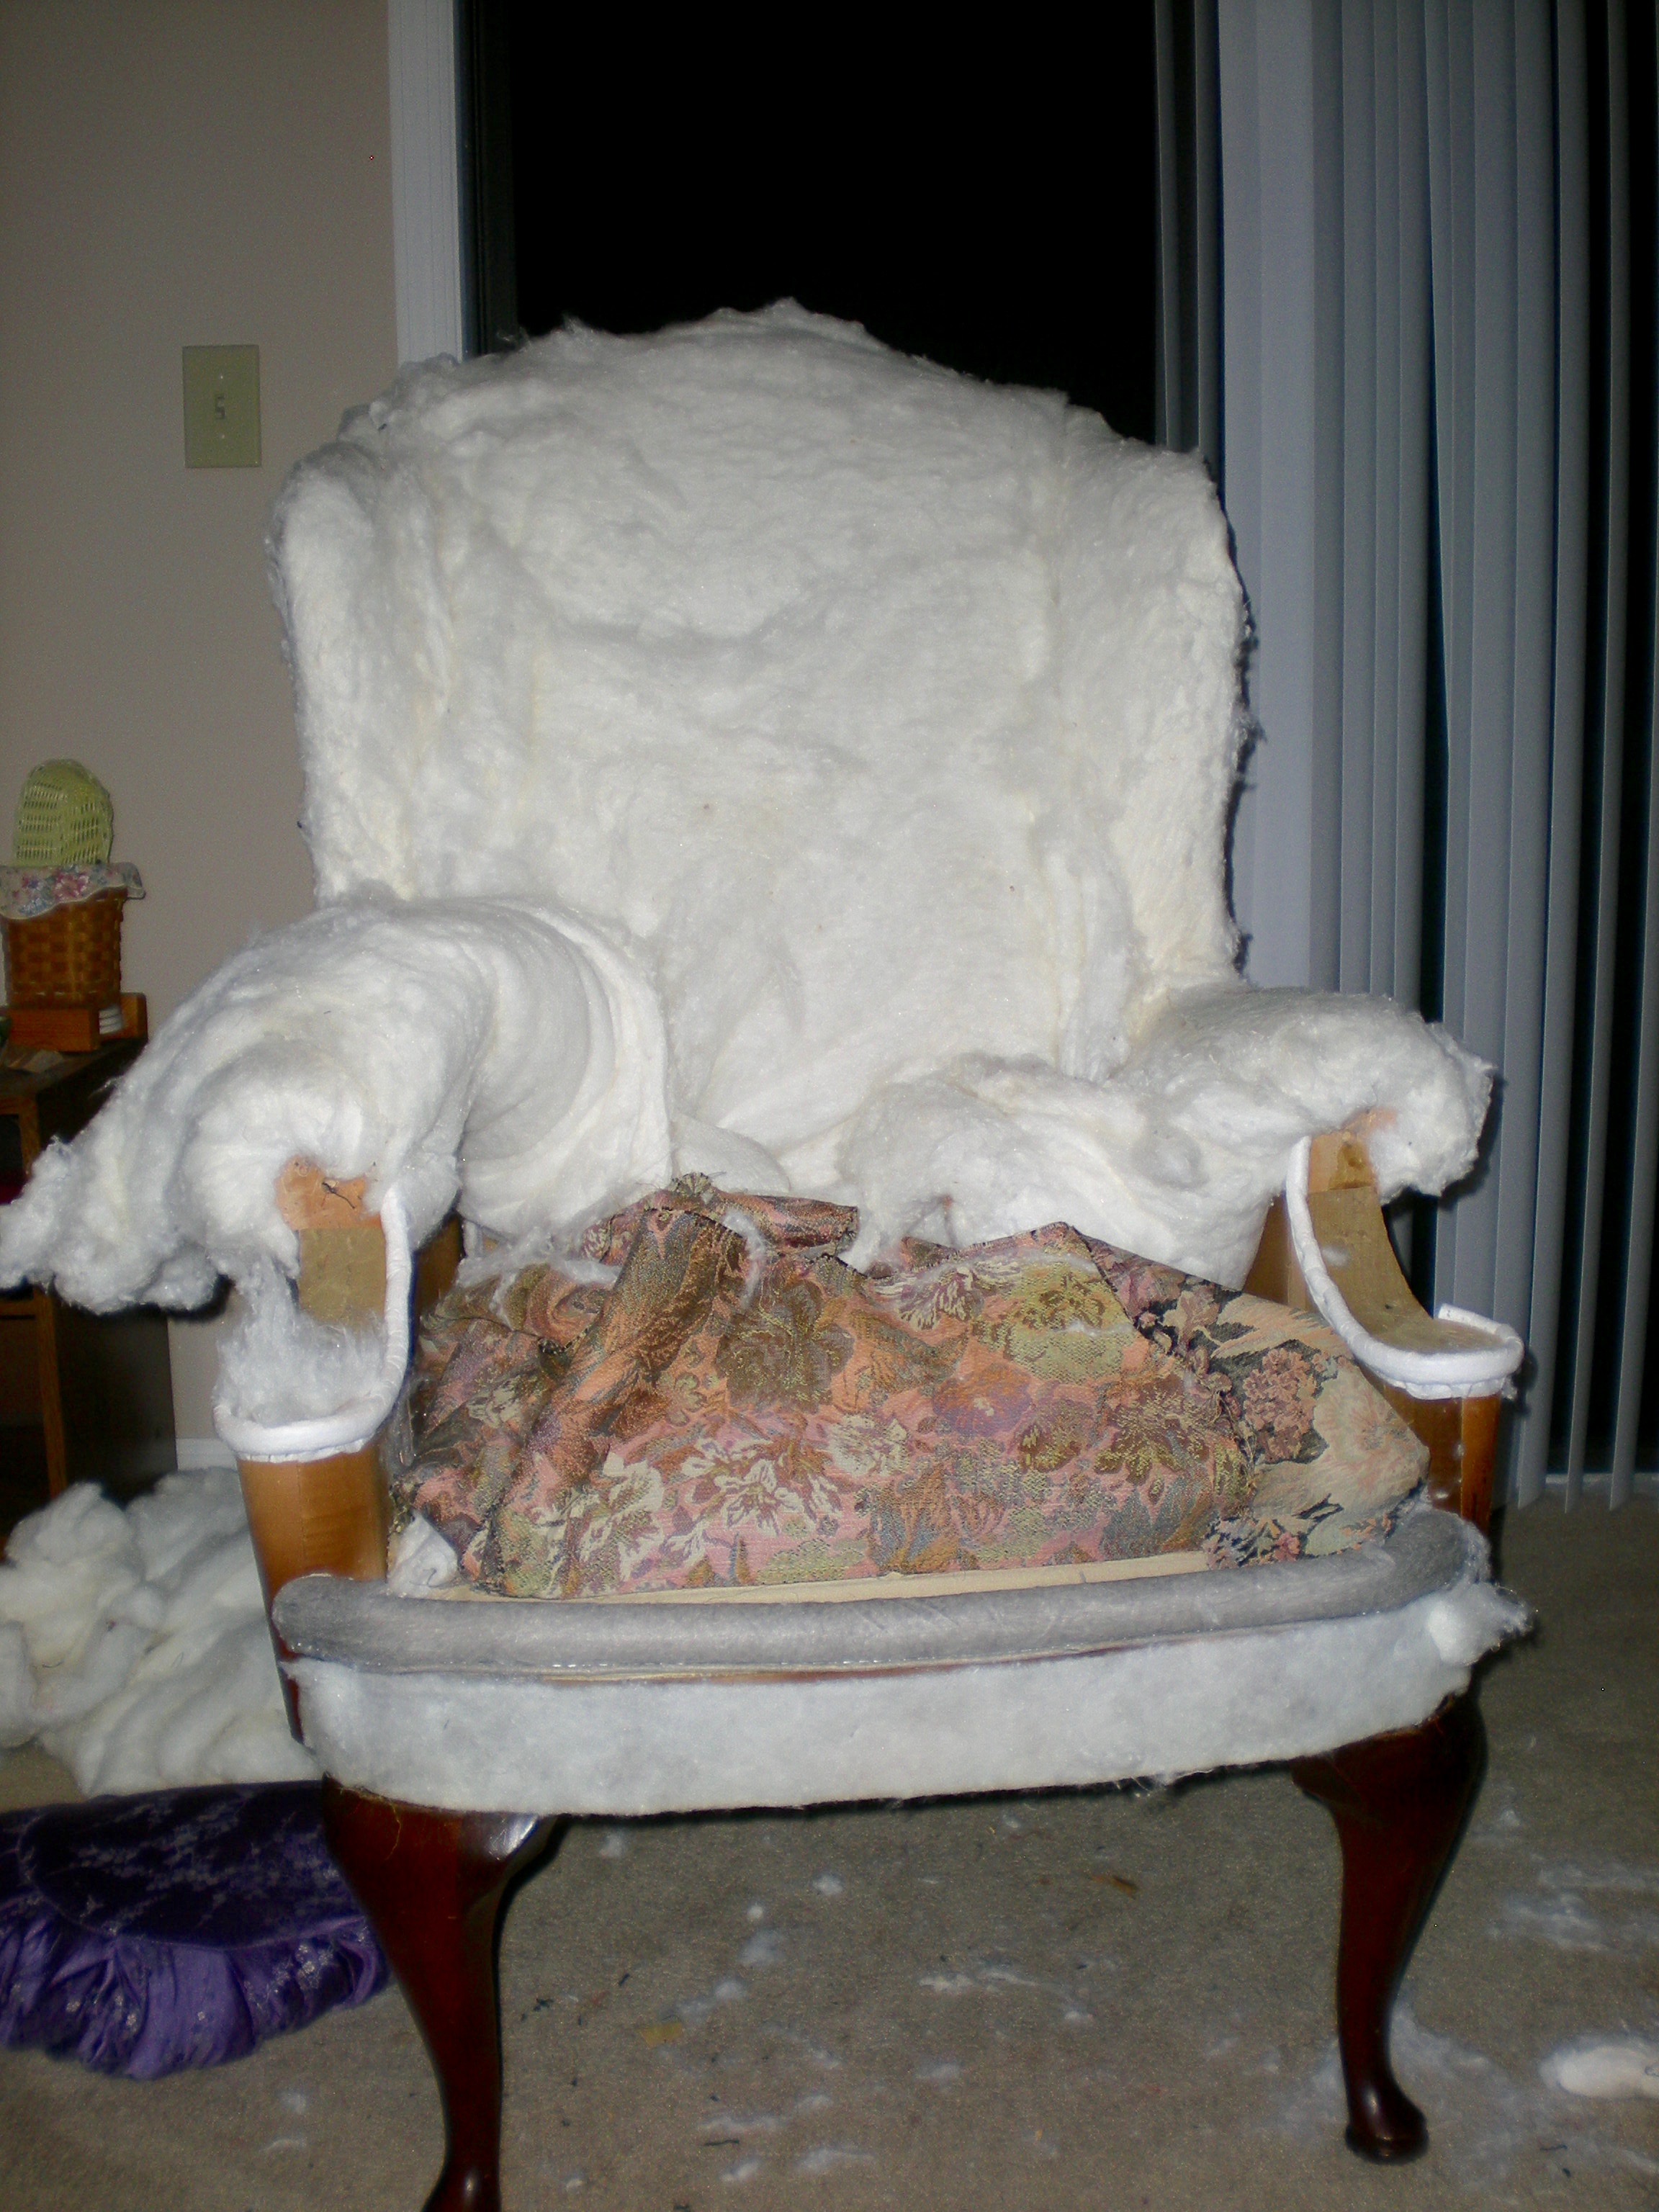
Once the side piece is removed, we have this cotton batting…
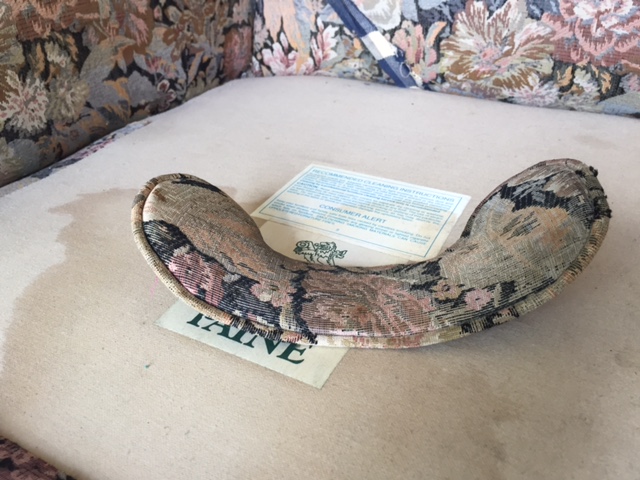
But wait…before we can remove it entirely, we have to take those weird front arm pieces off. Ah, so that’s how those work…
looks like a telephone…or earmuffs for someone with a very narrow head…hmmm…
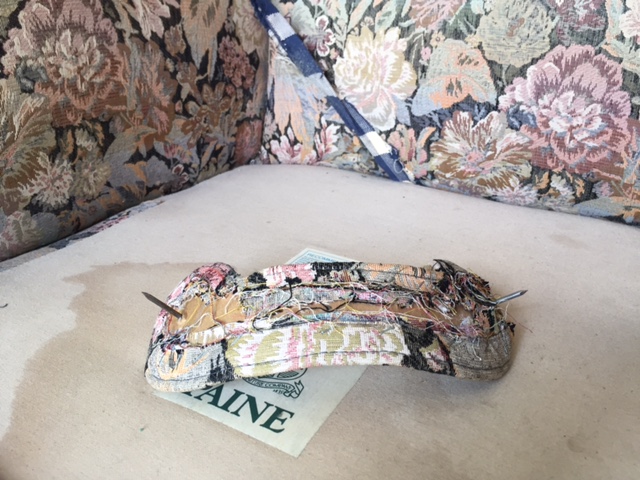
oh, look, more cardboard, and humongous nails
Once we’ve removed these strange pieces, we’re left with some fabrics that remind me of interlining and interfacing (yes, these are different things, and interlining is not the same as lining). Remove that, and voila, the side’s naked…on to the next!
still lots of staples to be removed…
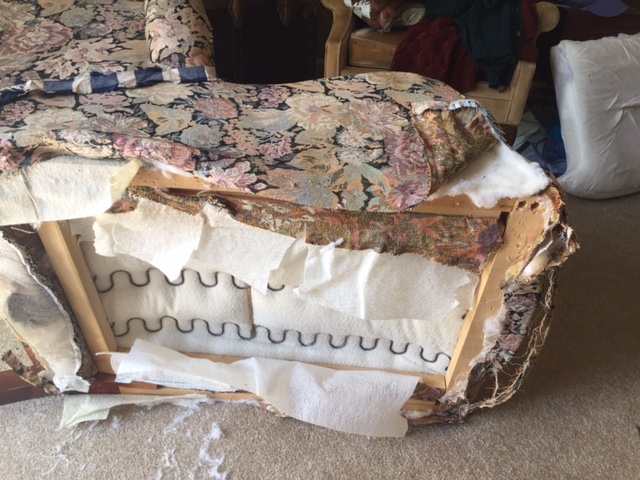
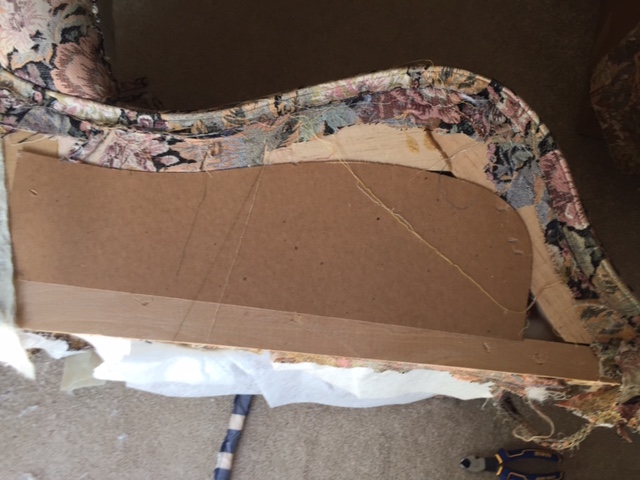
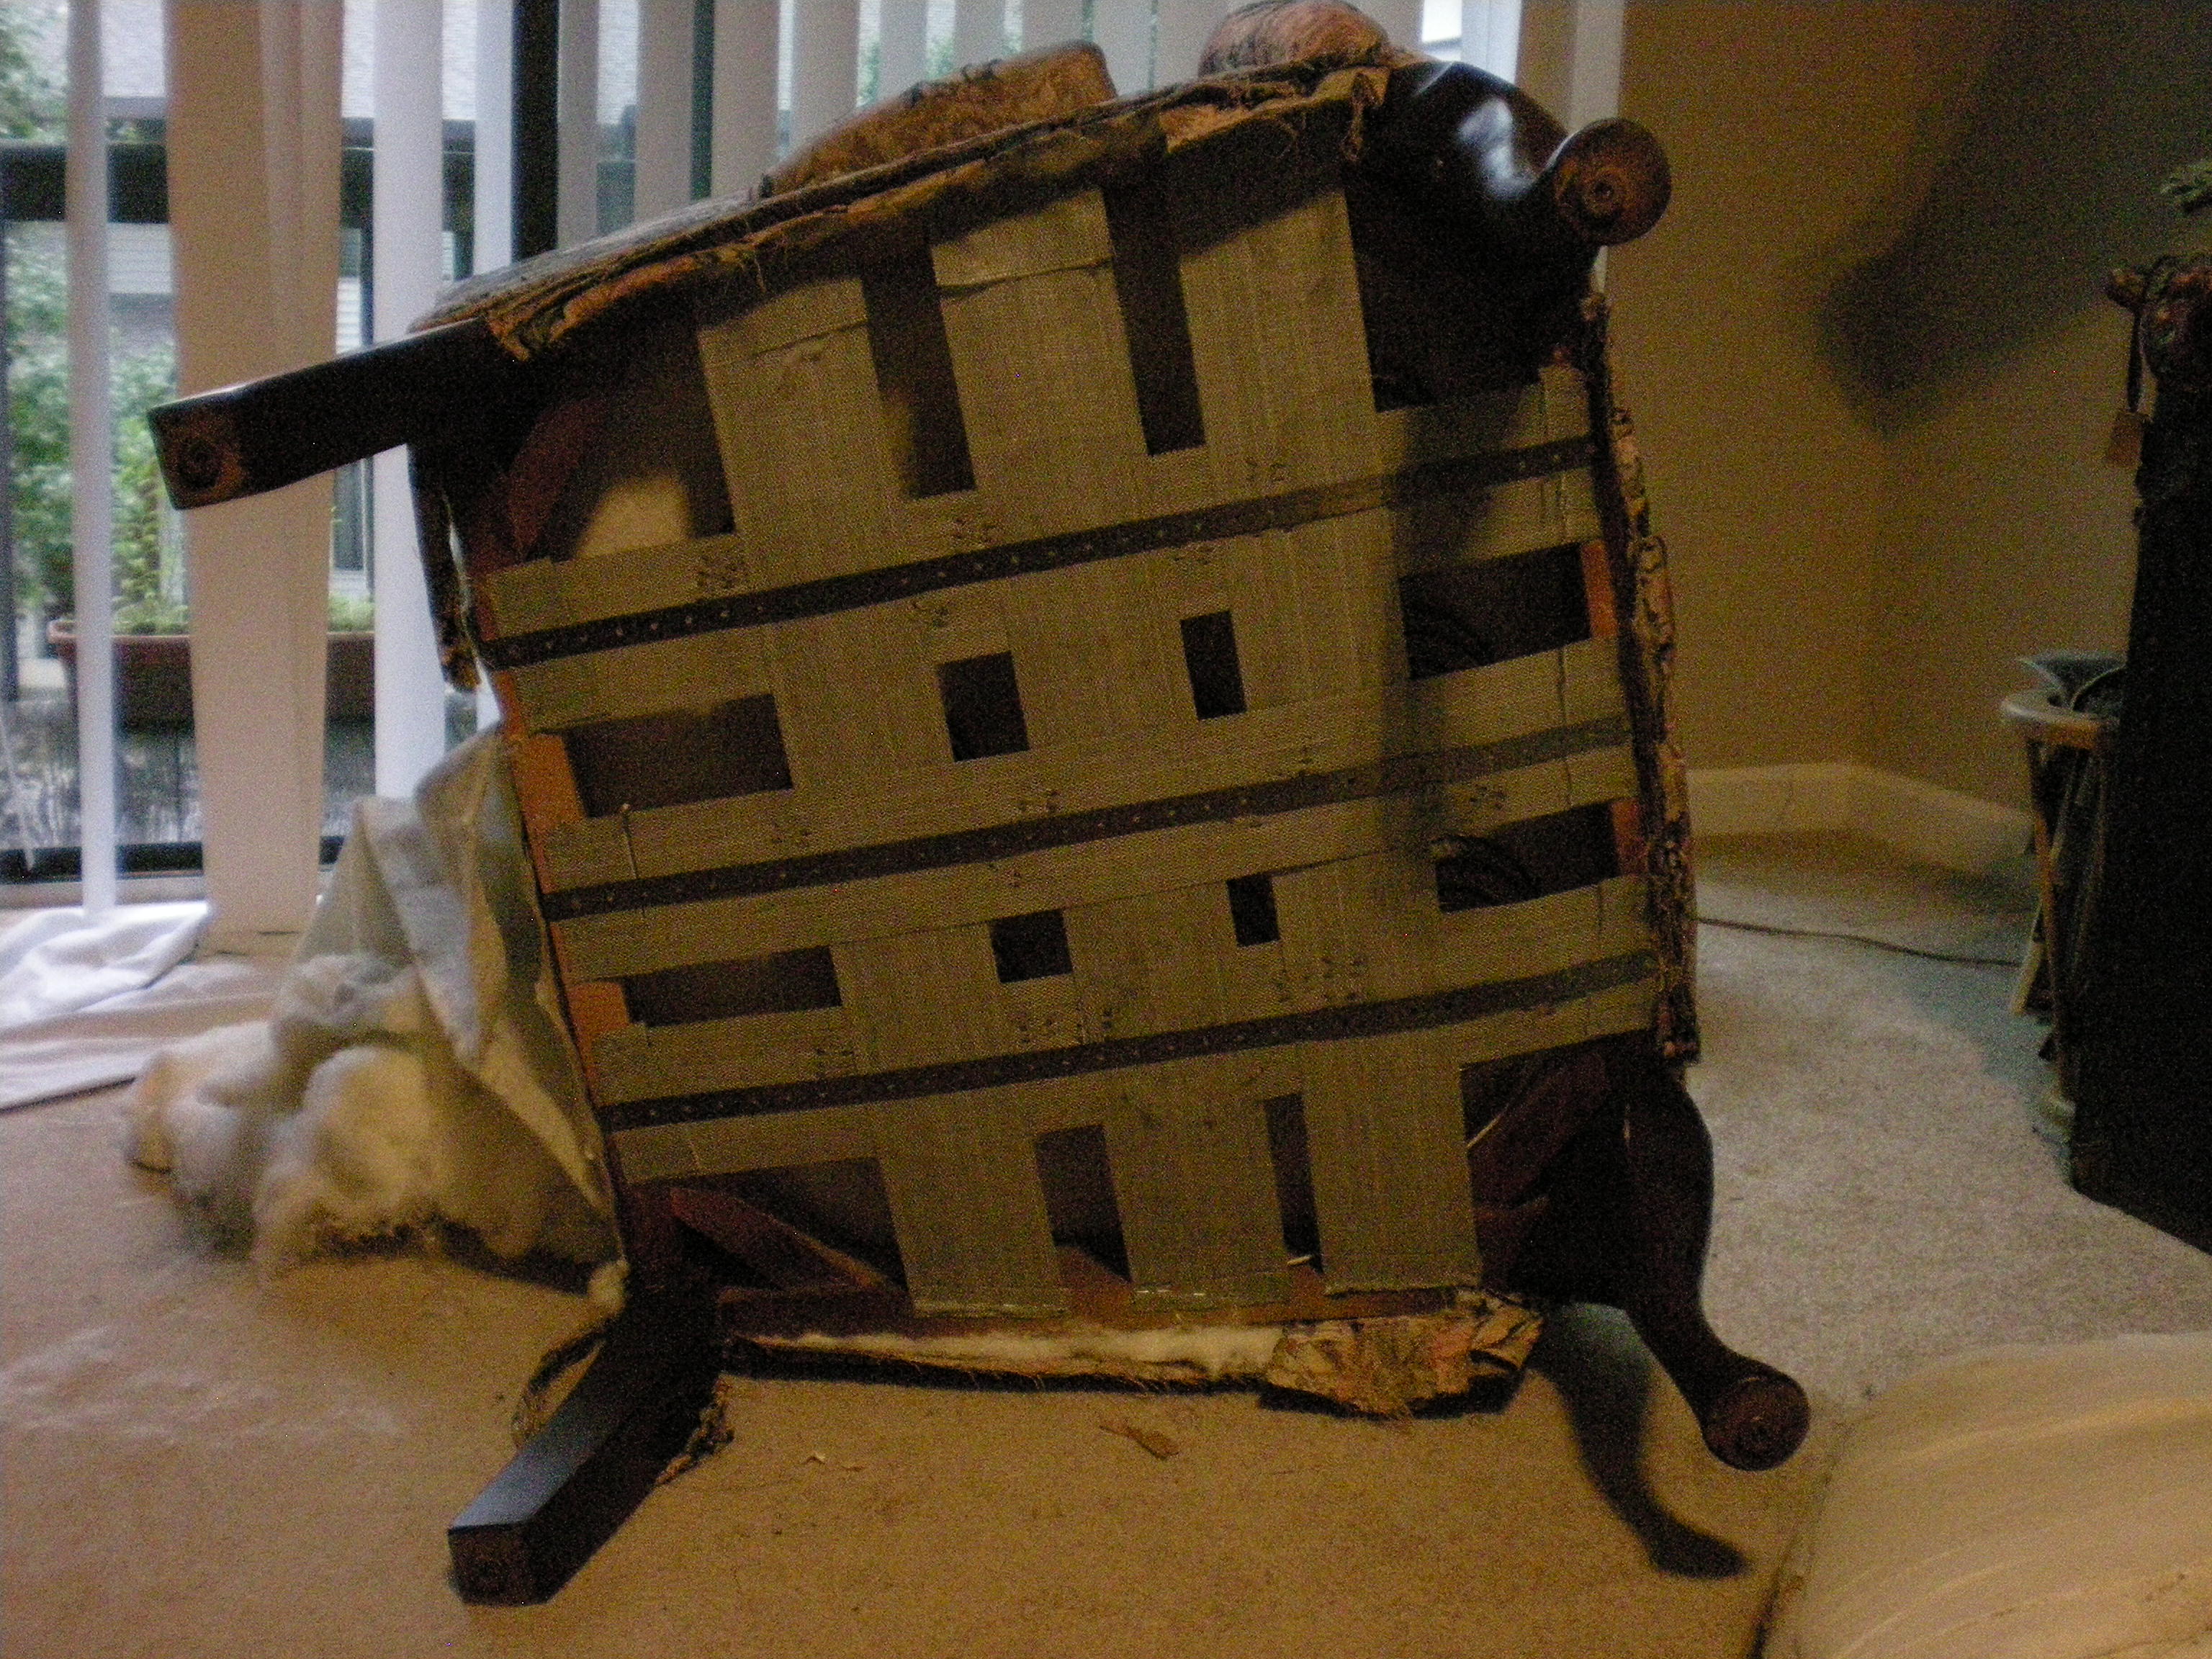
And we can see that instead of traditional webbing, modern versions of the wingback chair use cardboard…
but good, sturdy cardboard…
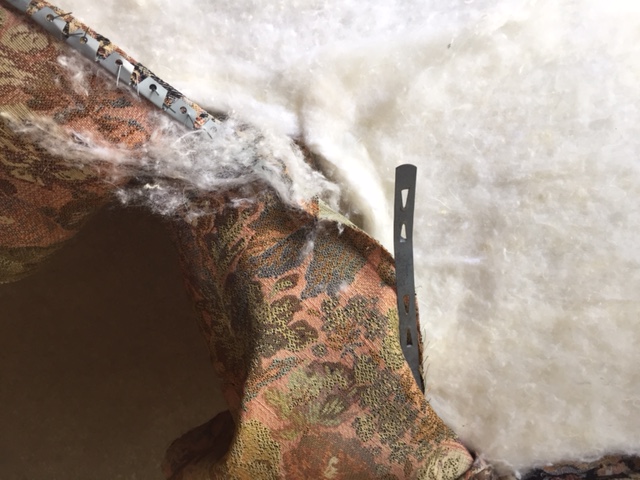
Just for completeness, the back piece, as well as both side pieces, used two types of metal fasteners or tack strips, so:
the lighter weight strip is stapled, the heavy weight one is tacked…
Side fabrics removed, attempting to strip the chair…
But wait, there are more staples!
Trying to remove the front…curses, foiled again!
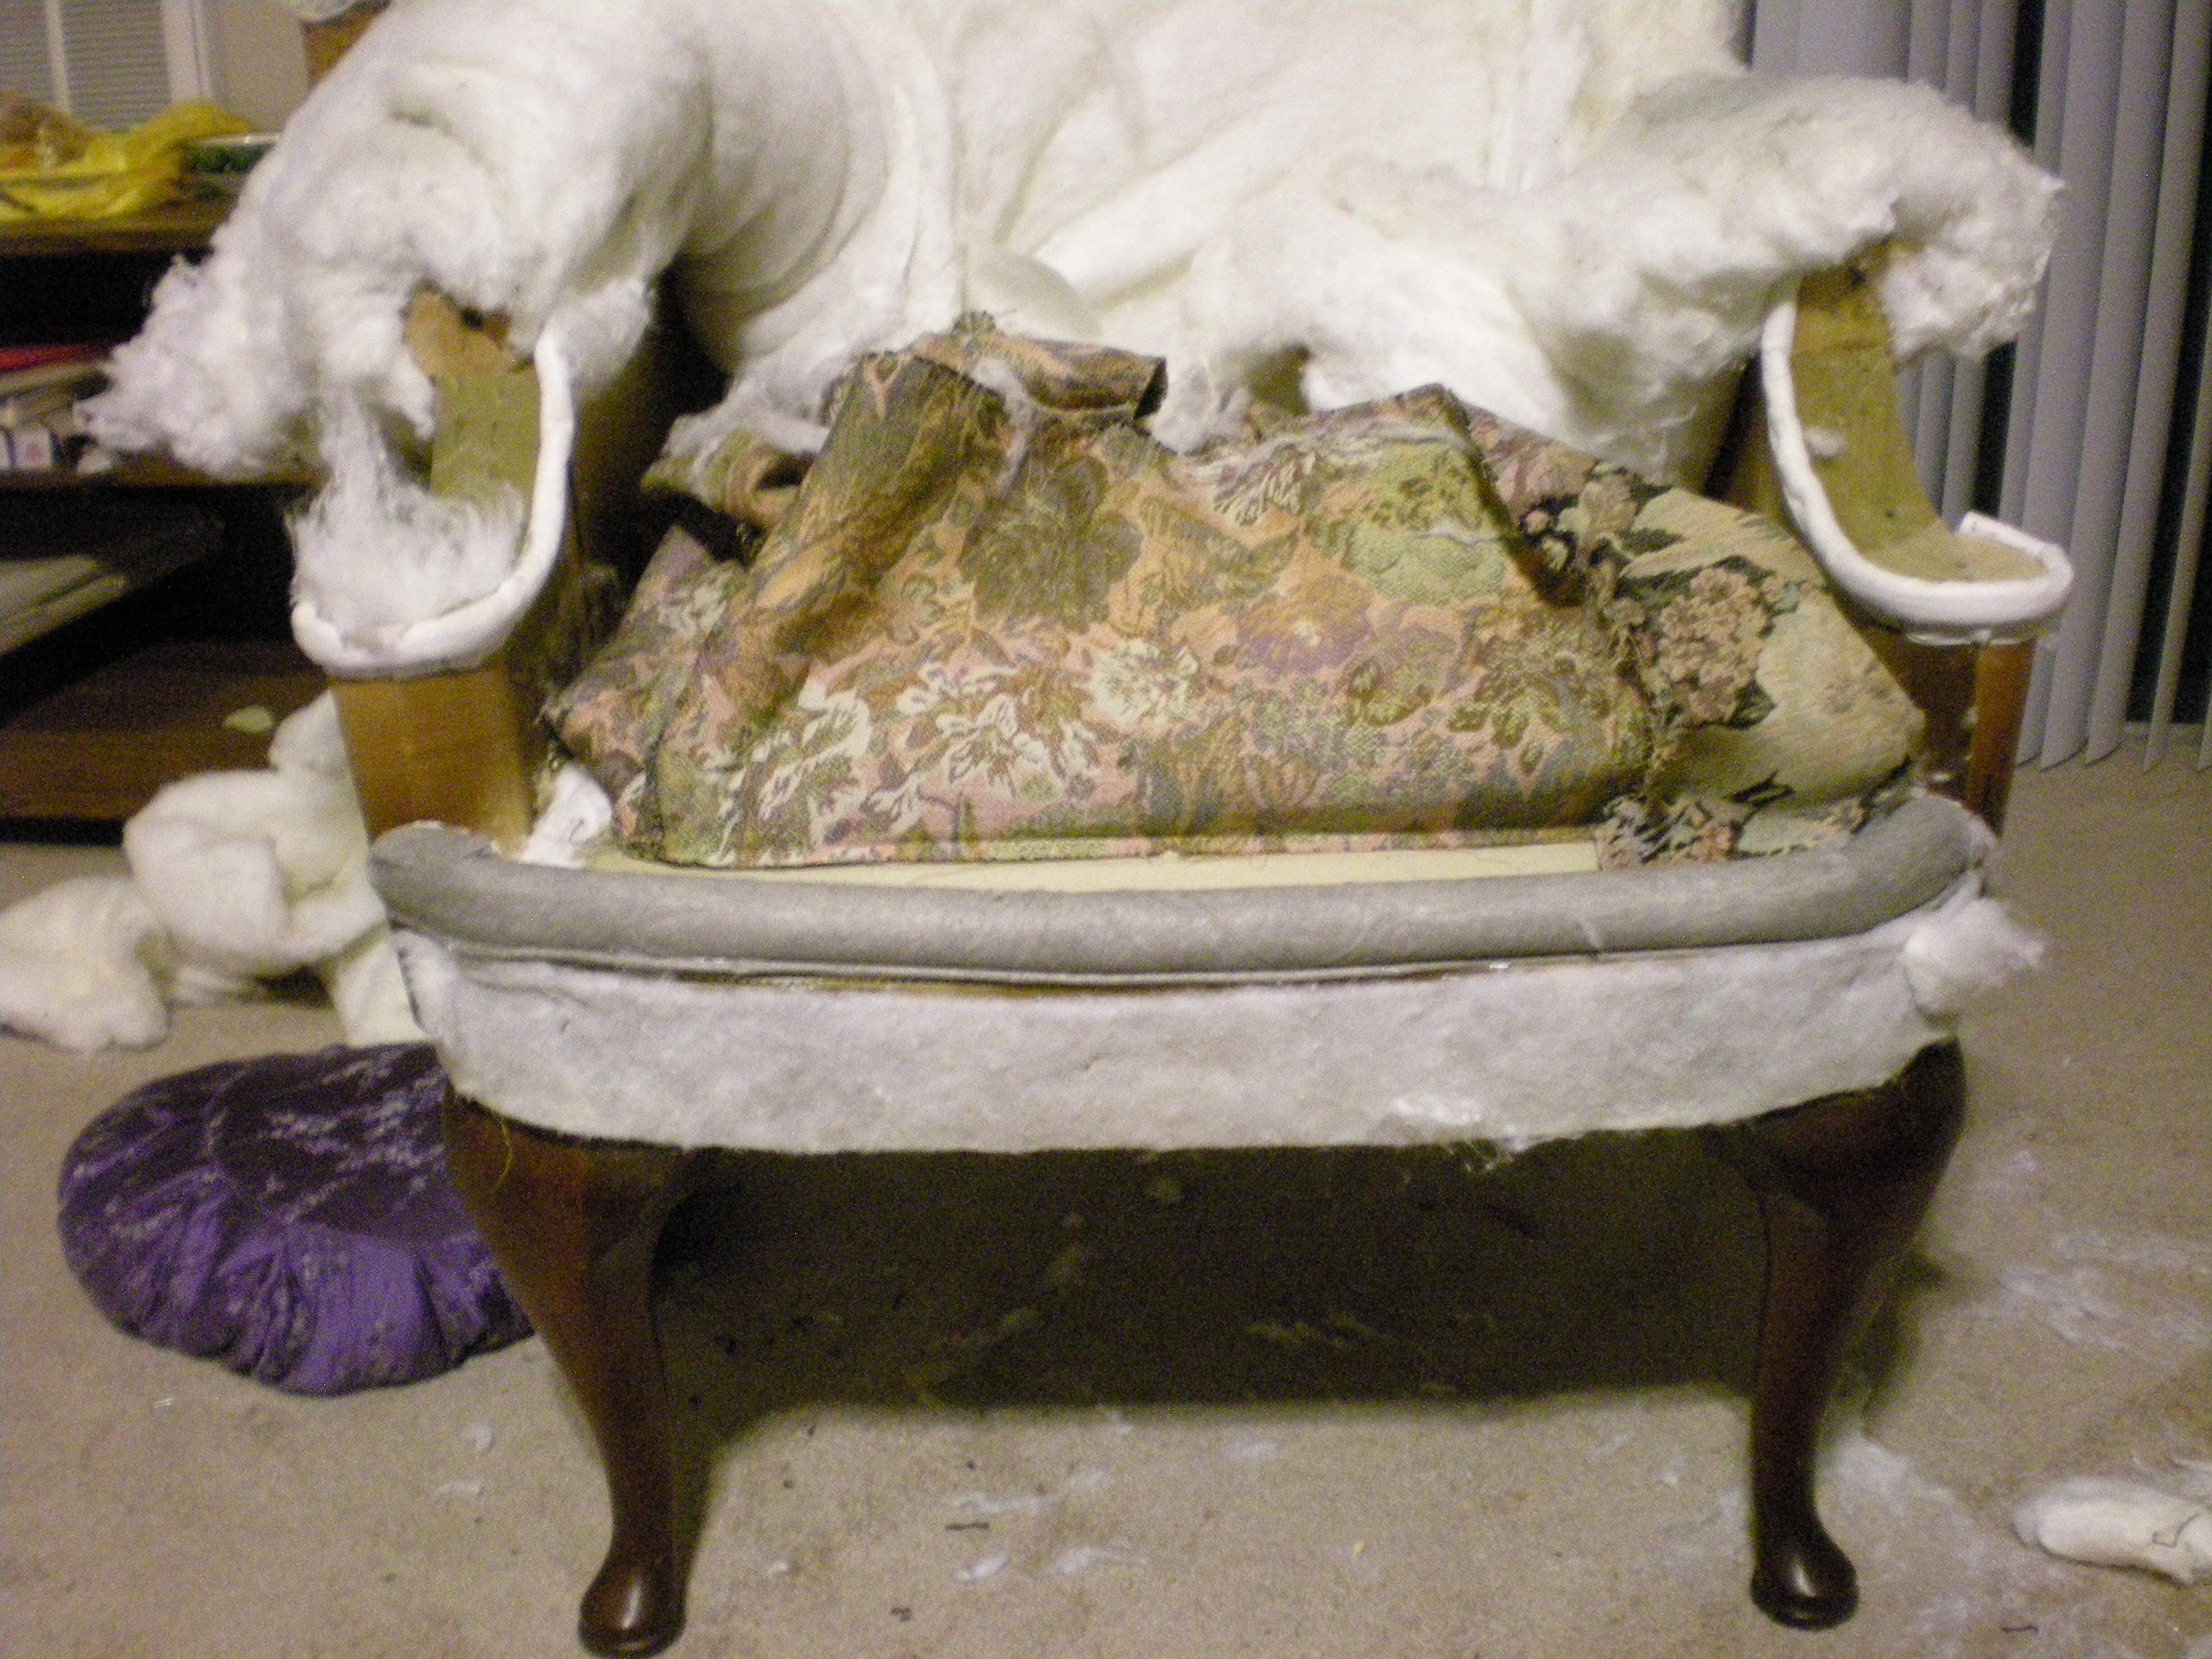
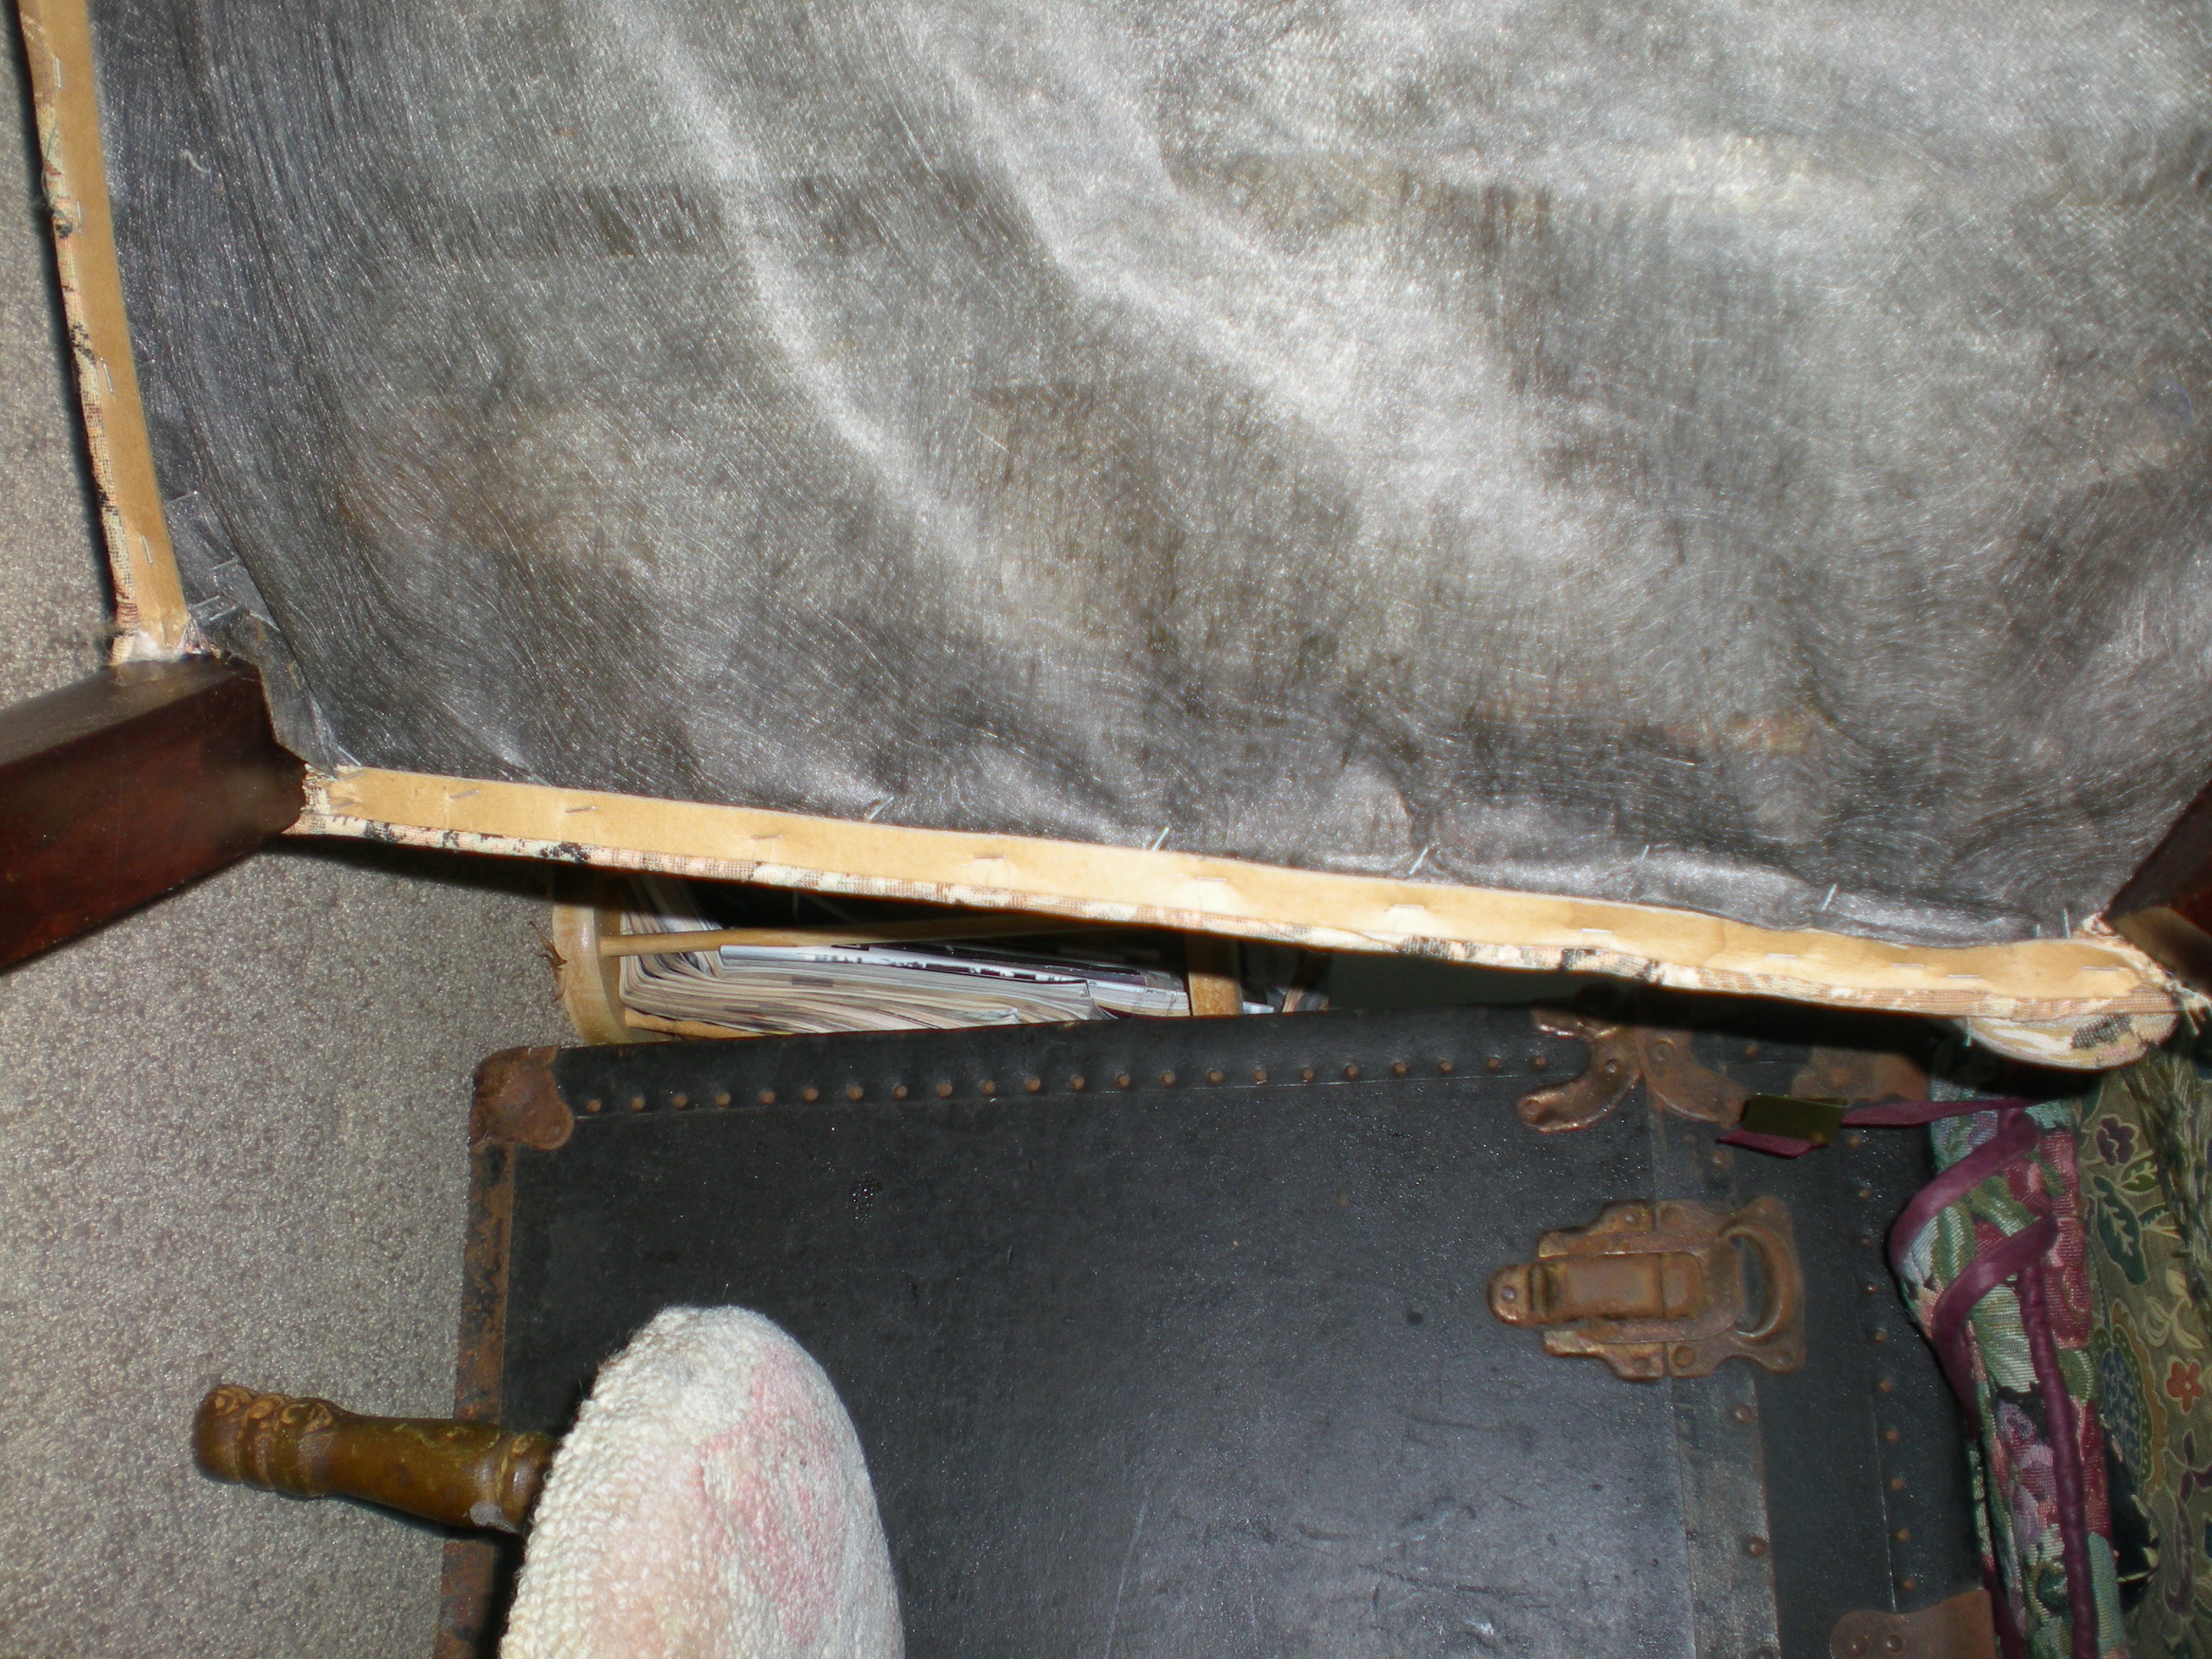
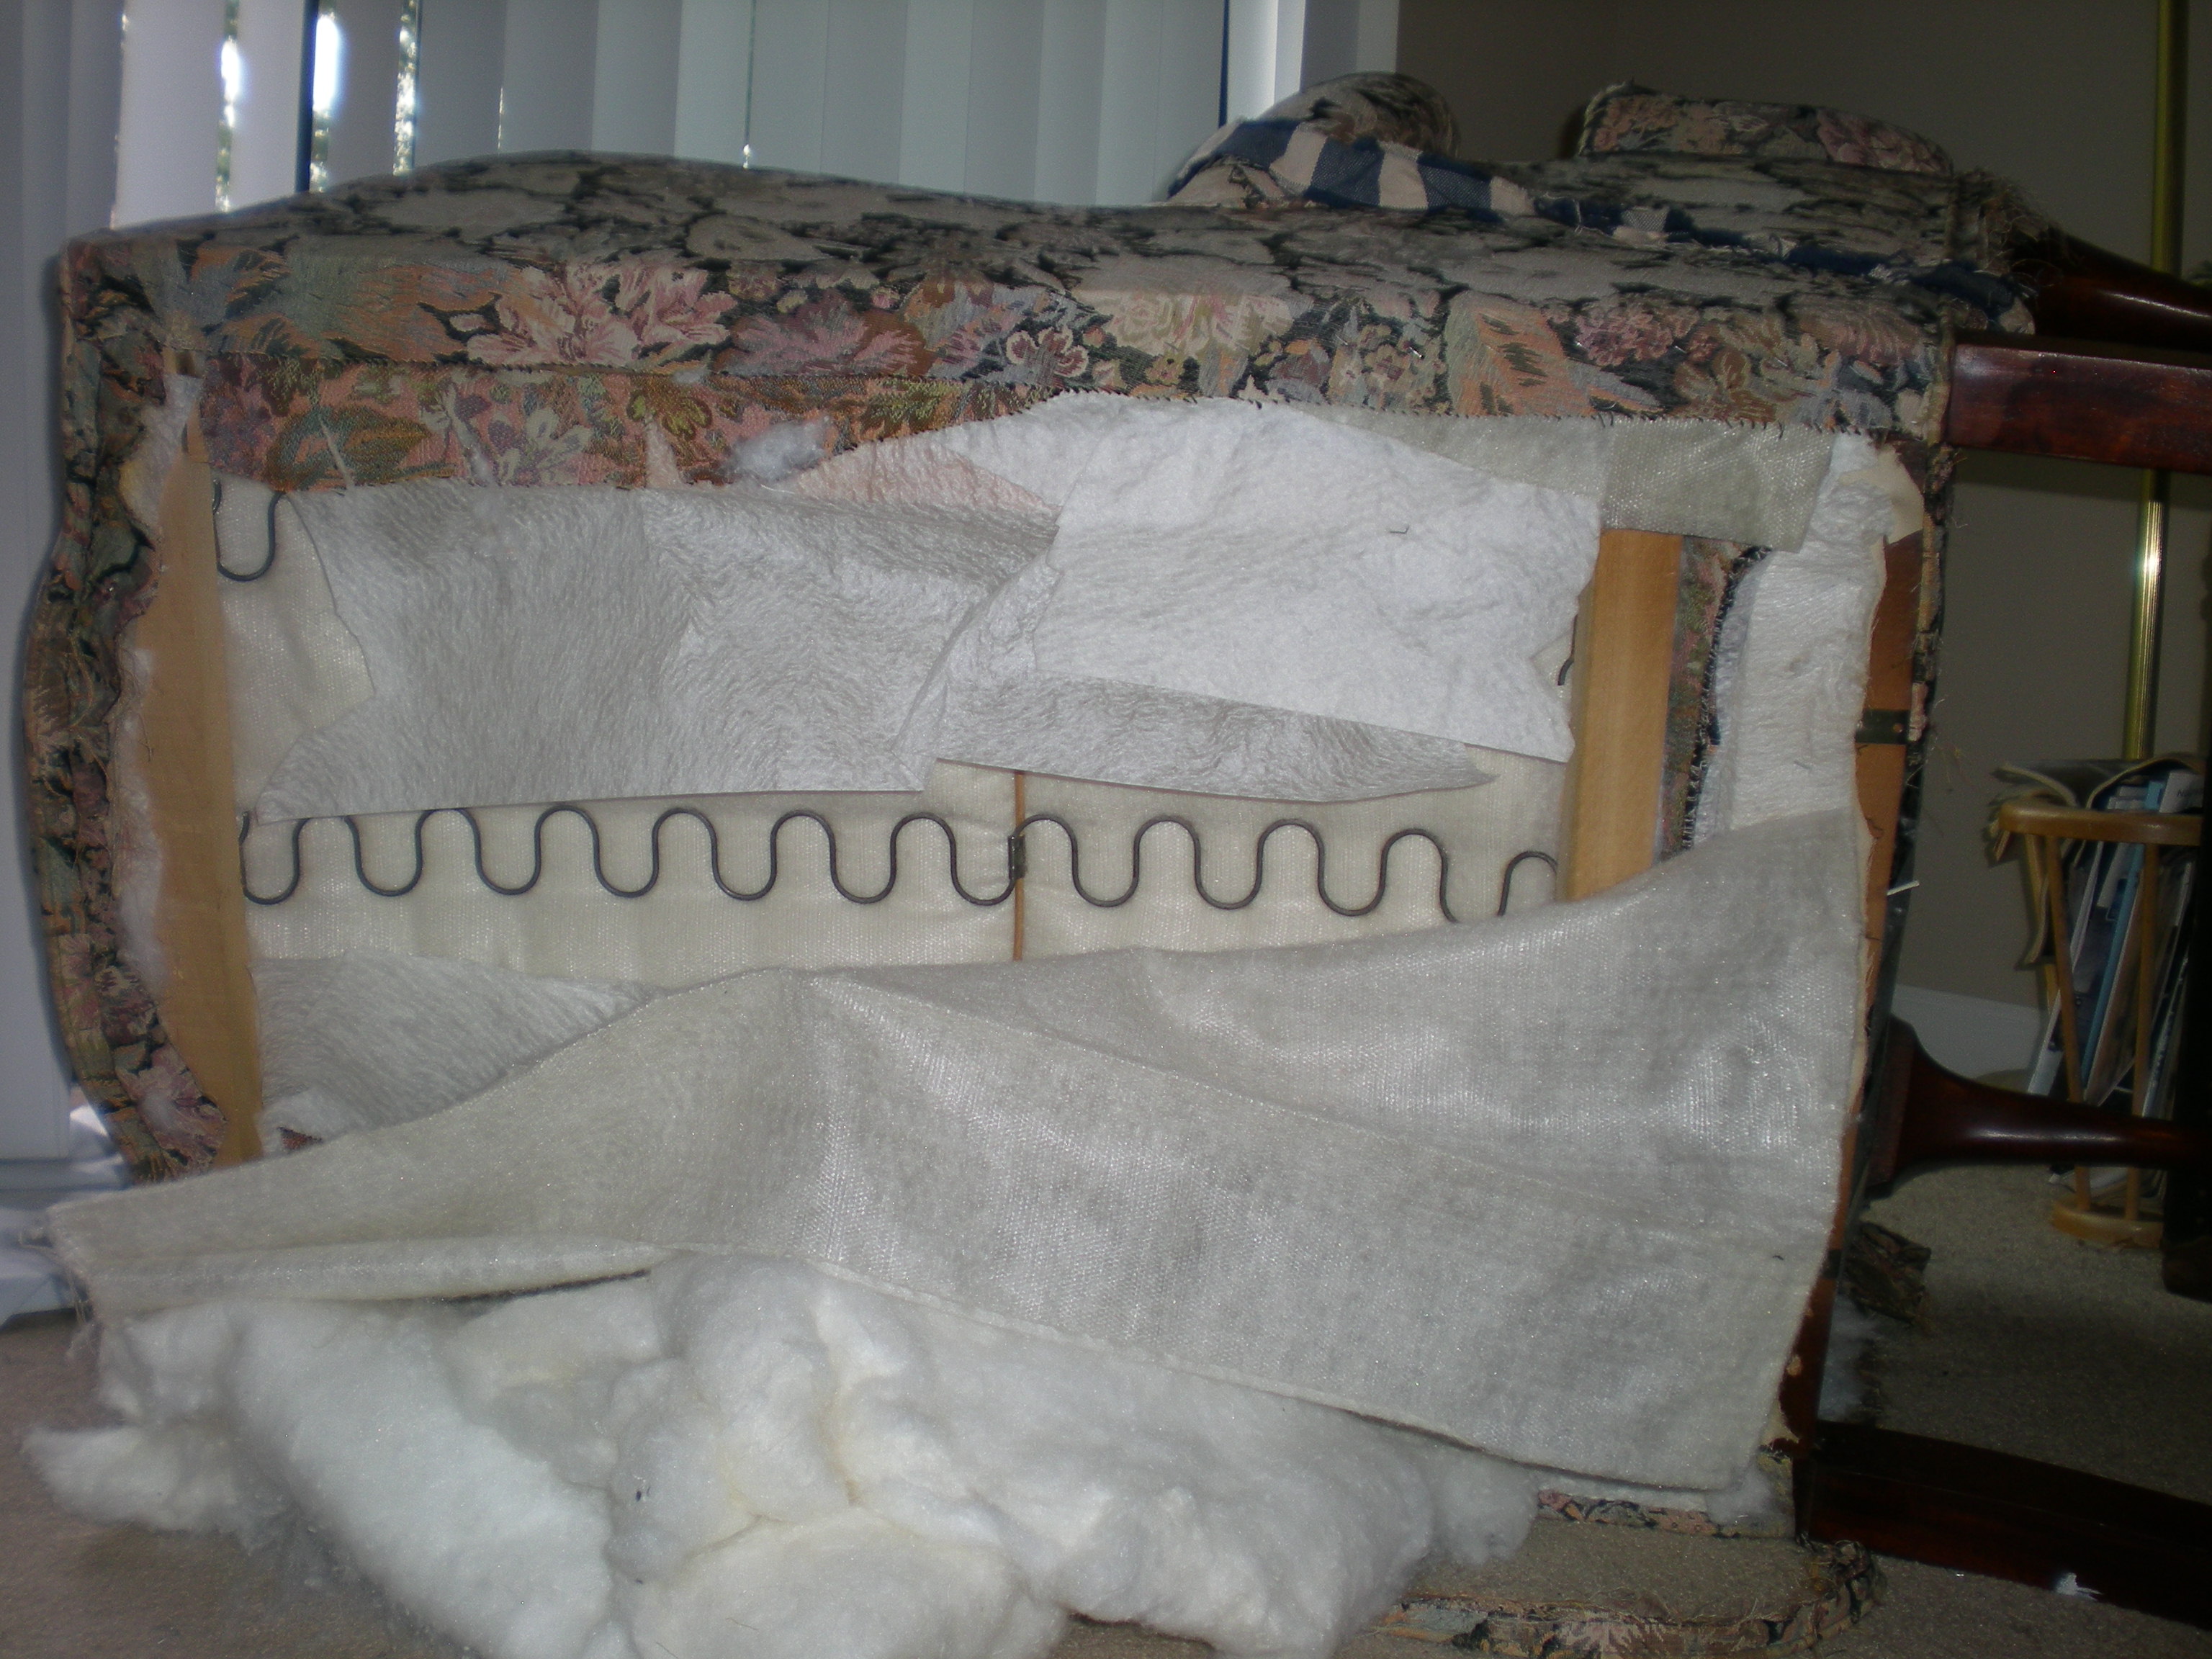
Finally, all staples removed from back, and sides. and around the piping on the front legs…but can we finally strip off the front pieces? Of course not! So in the photos below, the white at the bottom is just a layer of protection for the wood, then there was a layer of cotton, then the fashion fabric, but above this, the grey, is a very firm welt, about an inch in diameter, that sits on the front edge of the frame…it’s holding down the deck fabric, so there’s no stripping this thing tonight, but it also helps keep the cushion on the chair. Who knew? Upholsterers, that’s who. And now you do, too.
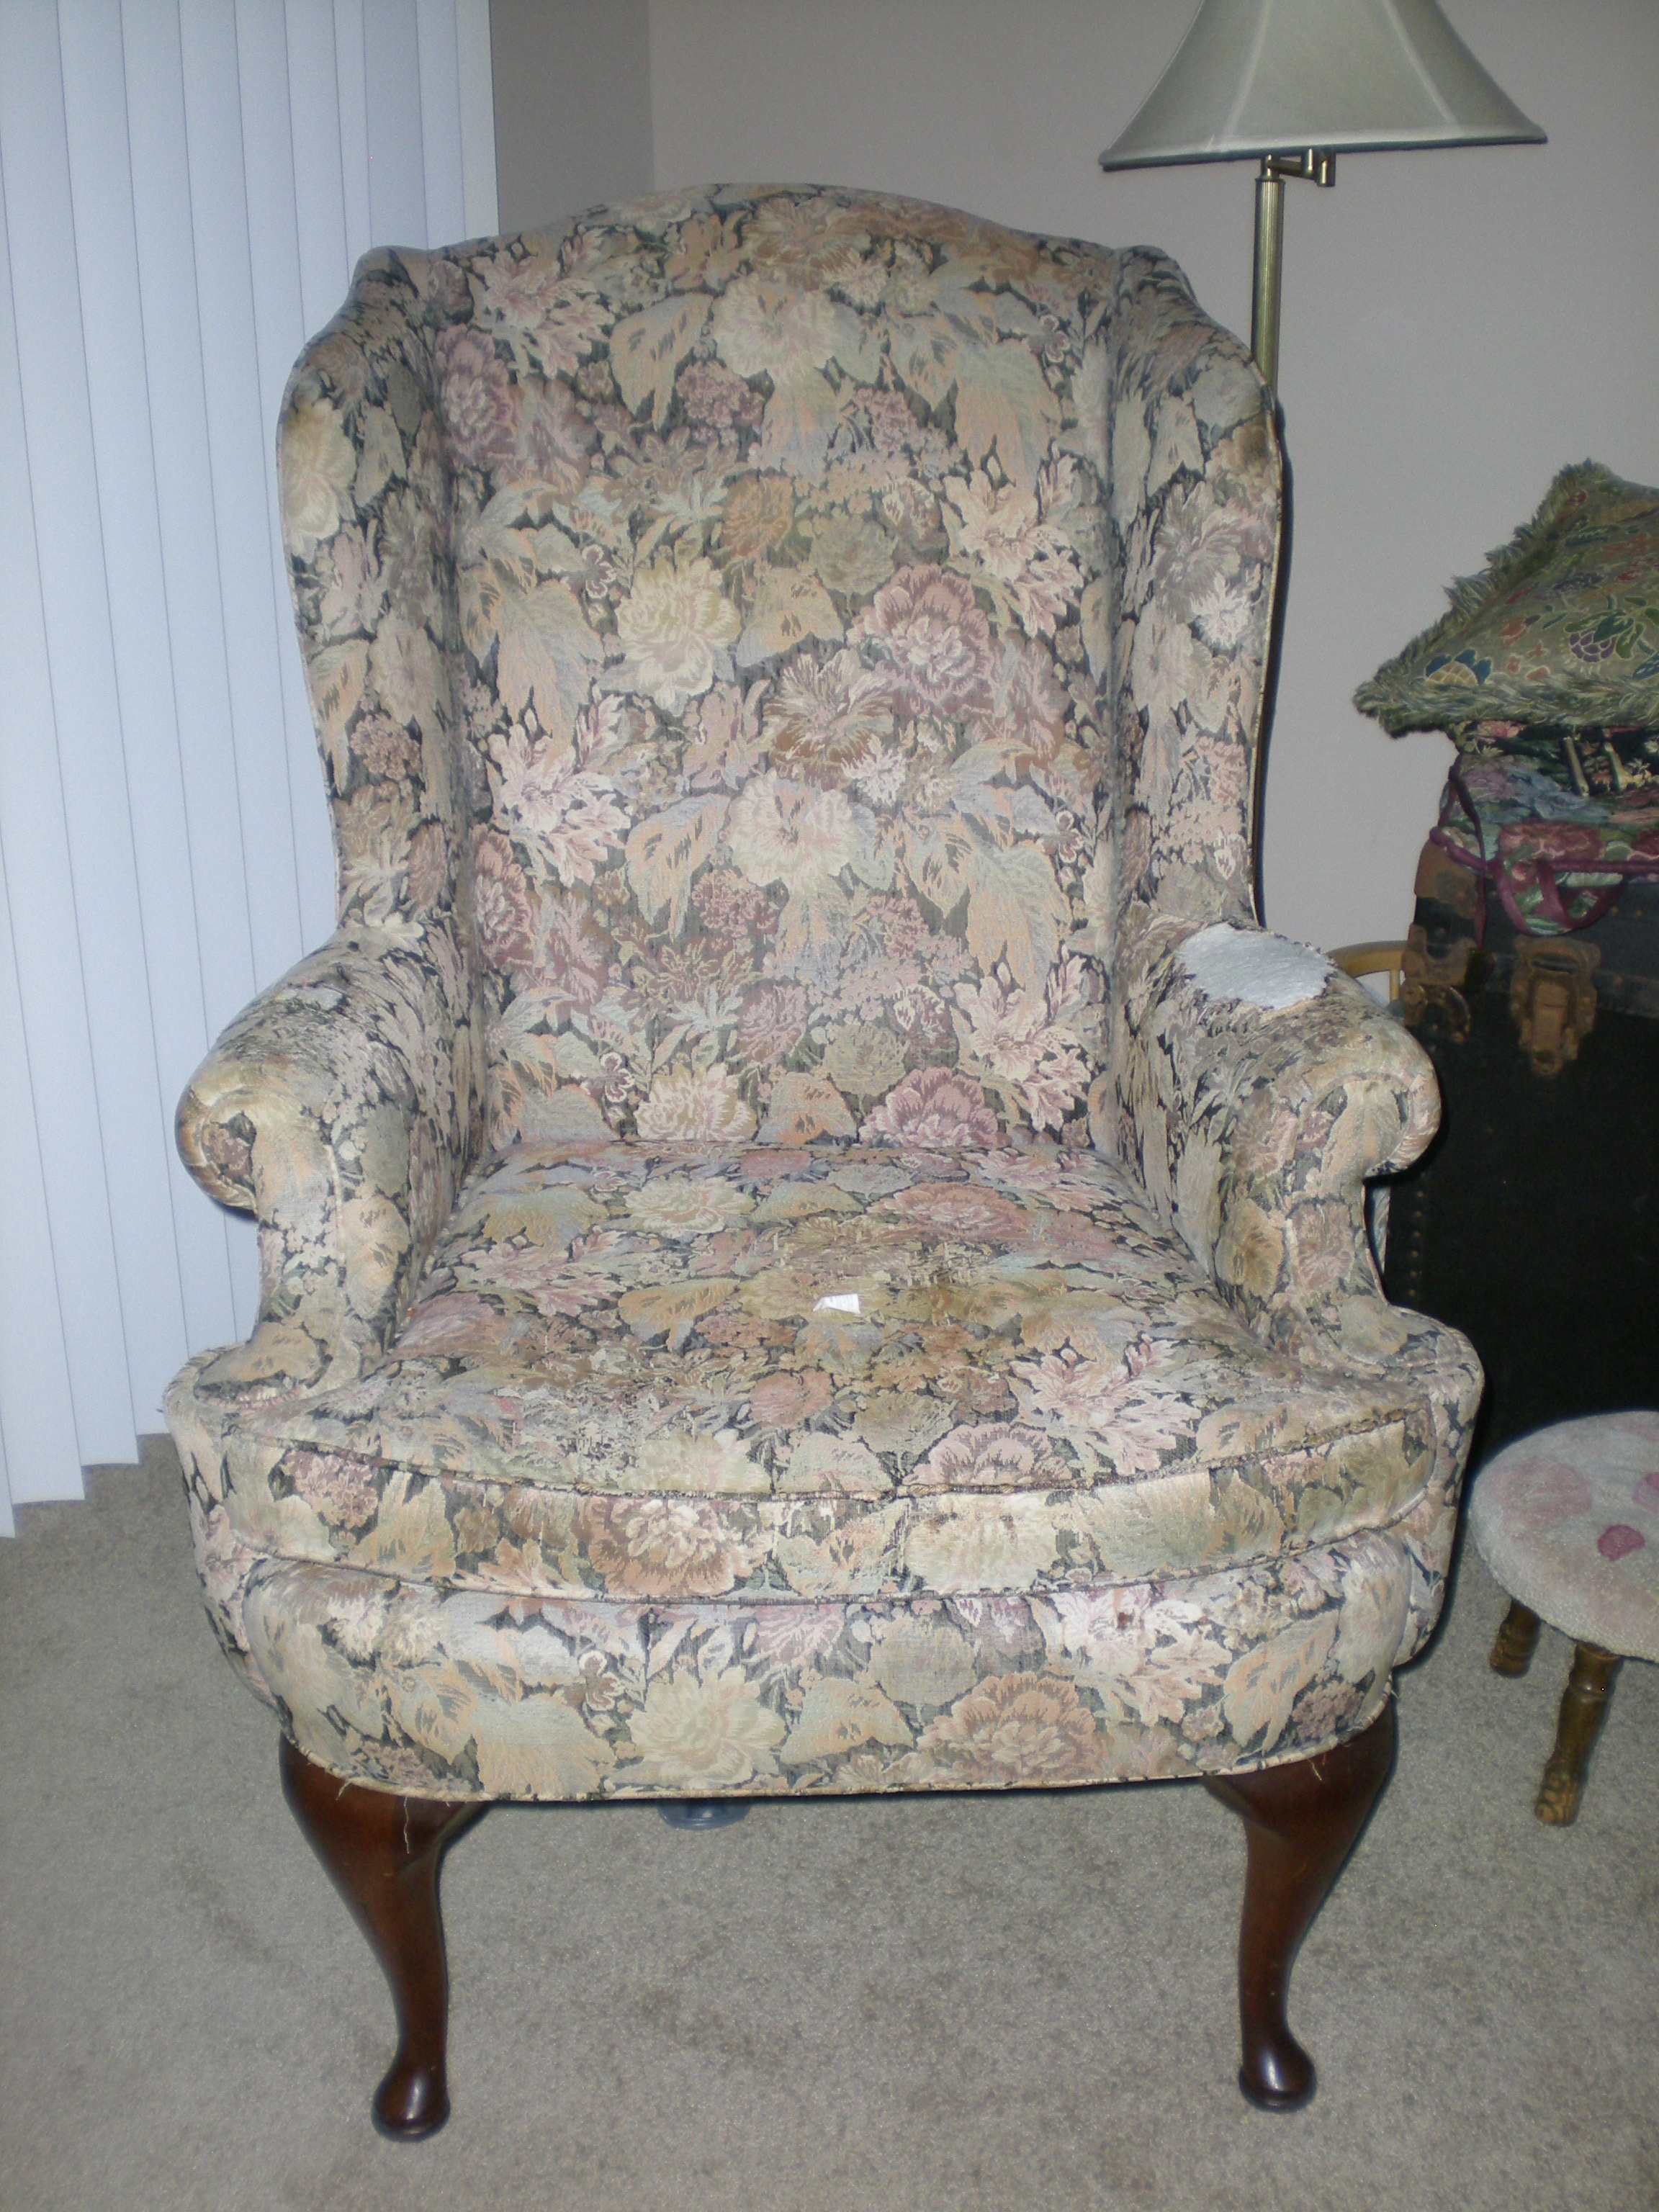
Wherein we foolishly attempt to reupholster a less-than antique wingback chair. Complete with photographic evidence of our progress. The we here are me and the voices in my head, just to be clear.
We start at the bottom…
Close up of the cardboard edging…
…which we can see is disintegrating, crumbling away
A preview of what’s to come…if all goes according to plan
Lovely fabric, arrived Friday, 8/11…
First step is removing the dust cover. All of this is held in place with staples, lots and lots of staples. Current tools in use are a flat-nose screwdriver, a rubber mallet, and a pair of diagonal cutters for lifting out stubborn staples. It took over an hour to get the dustcover off, along with releasing all the fabric, including the welted piping, from the bottom of the chair.
note the metal strapping from front to back
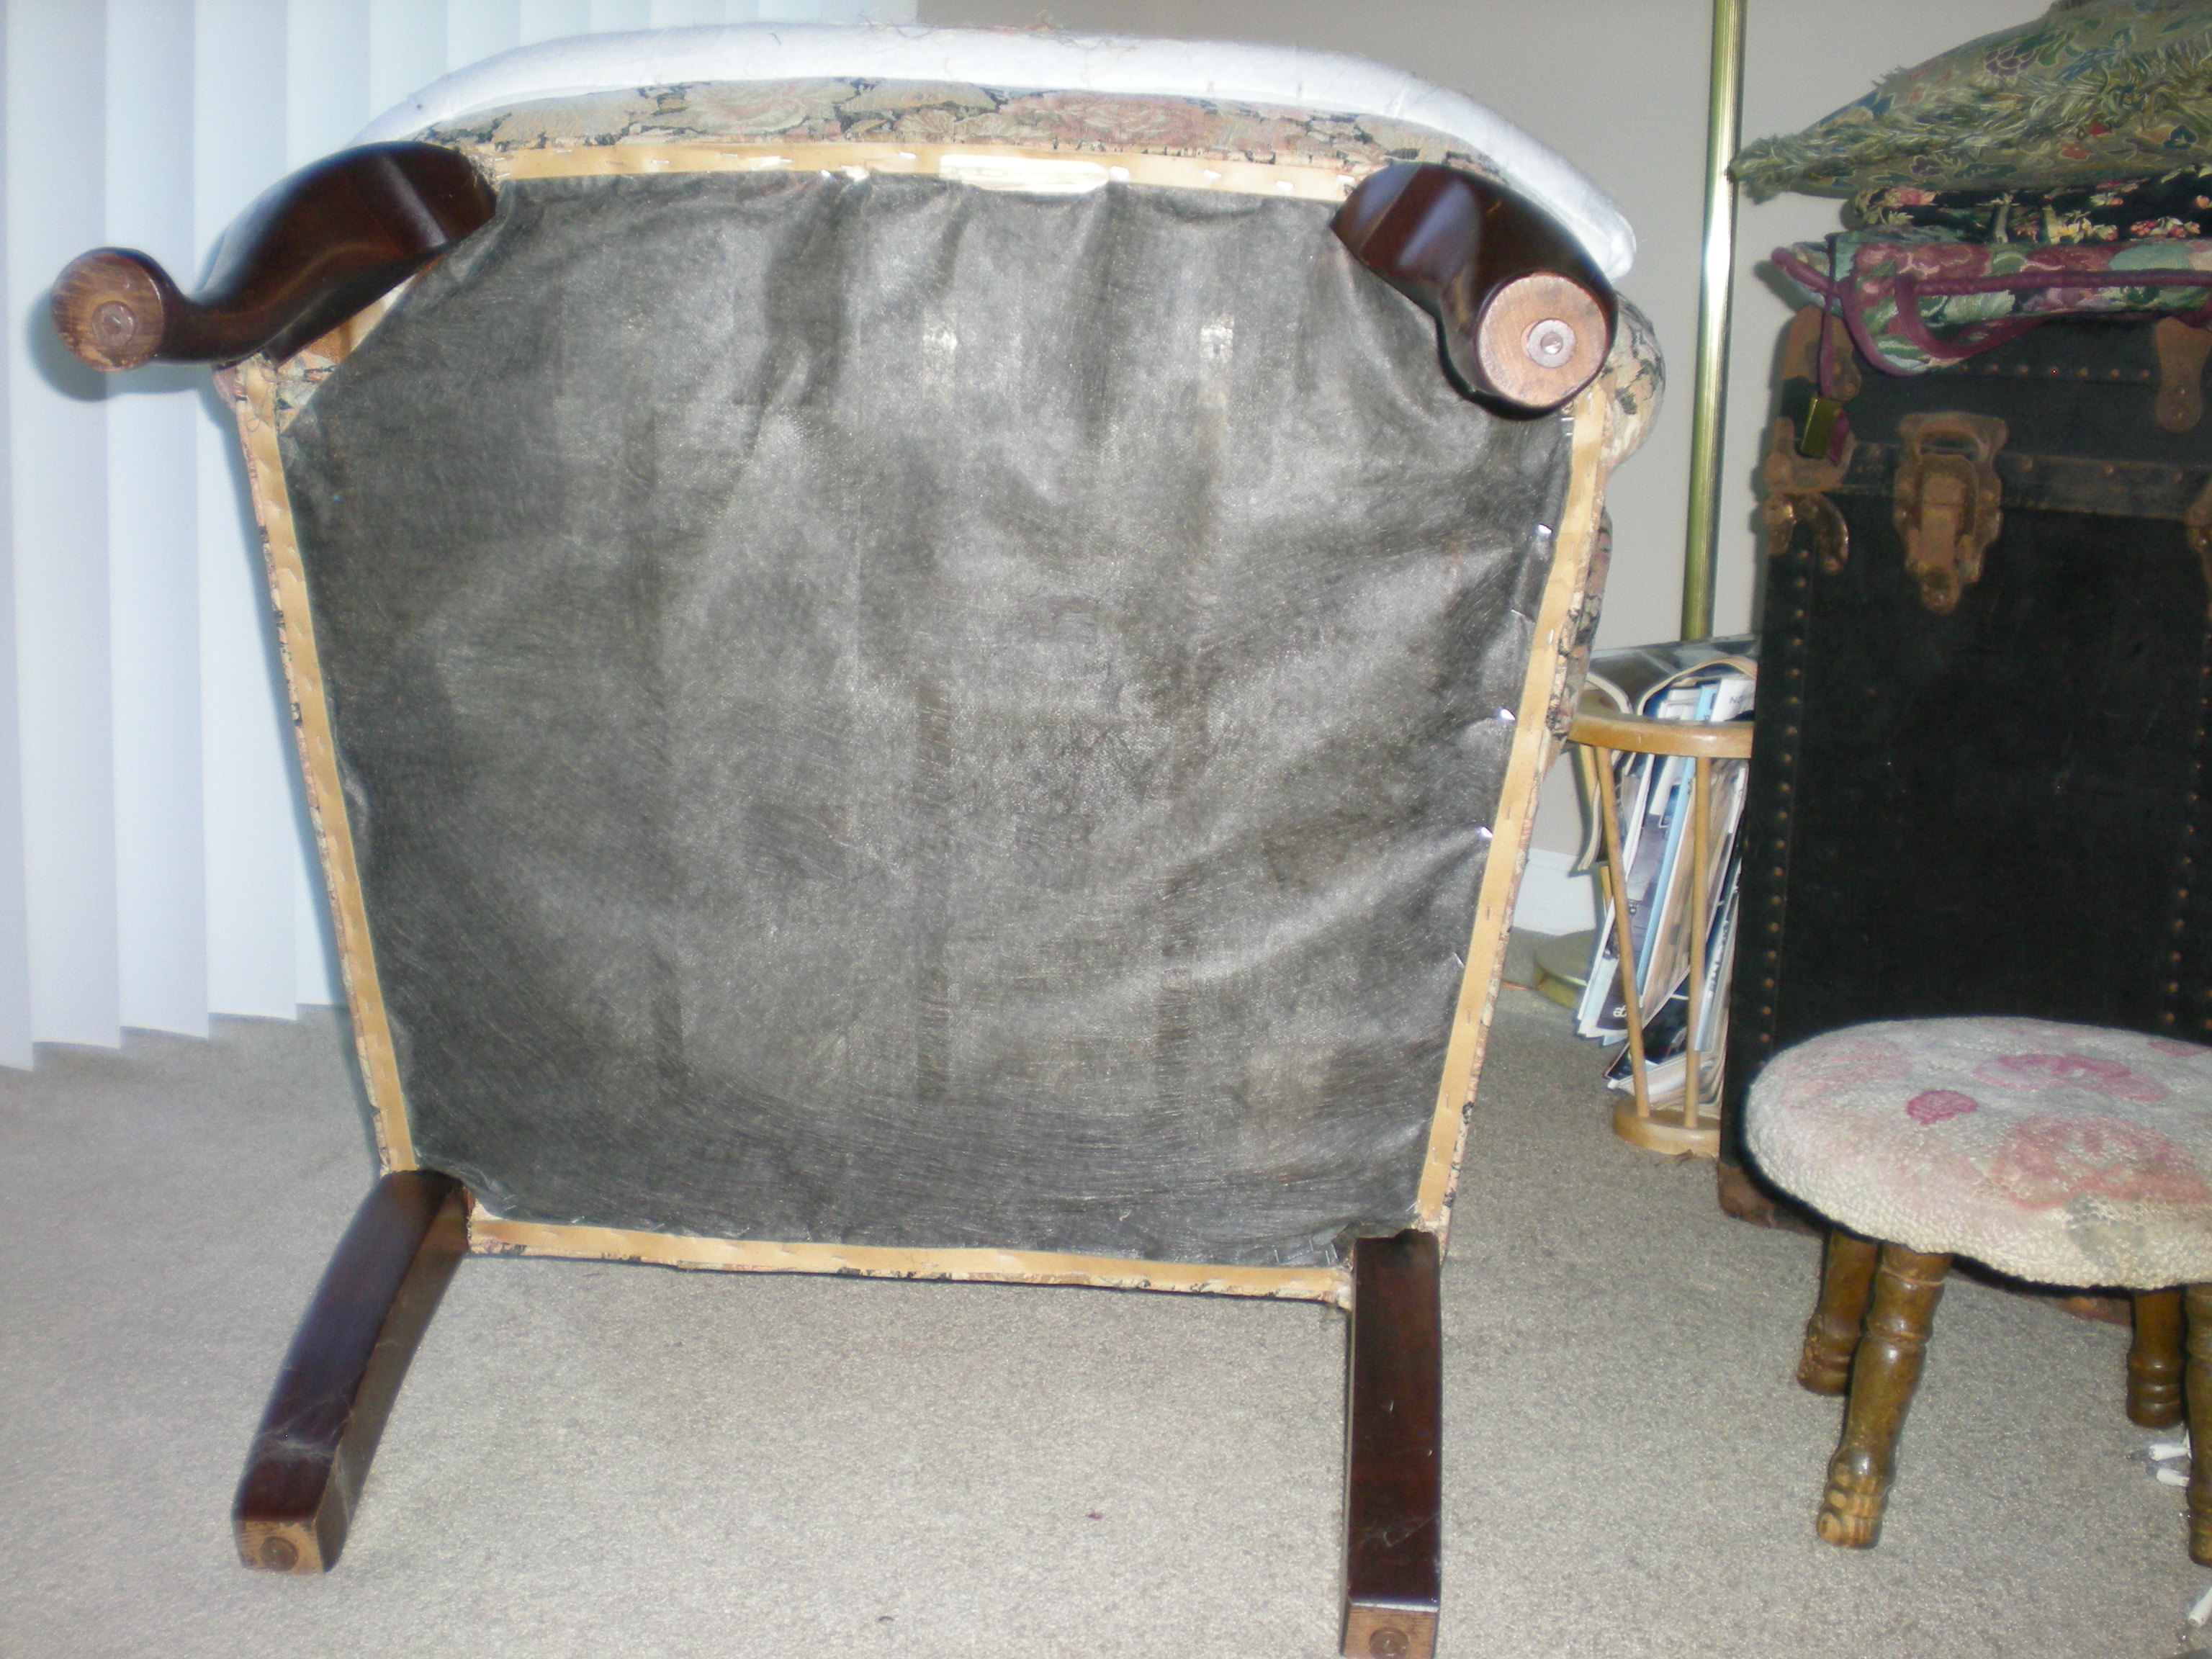
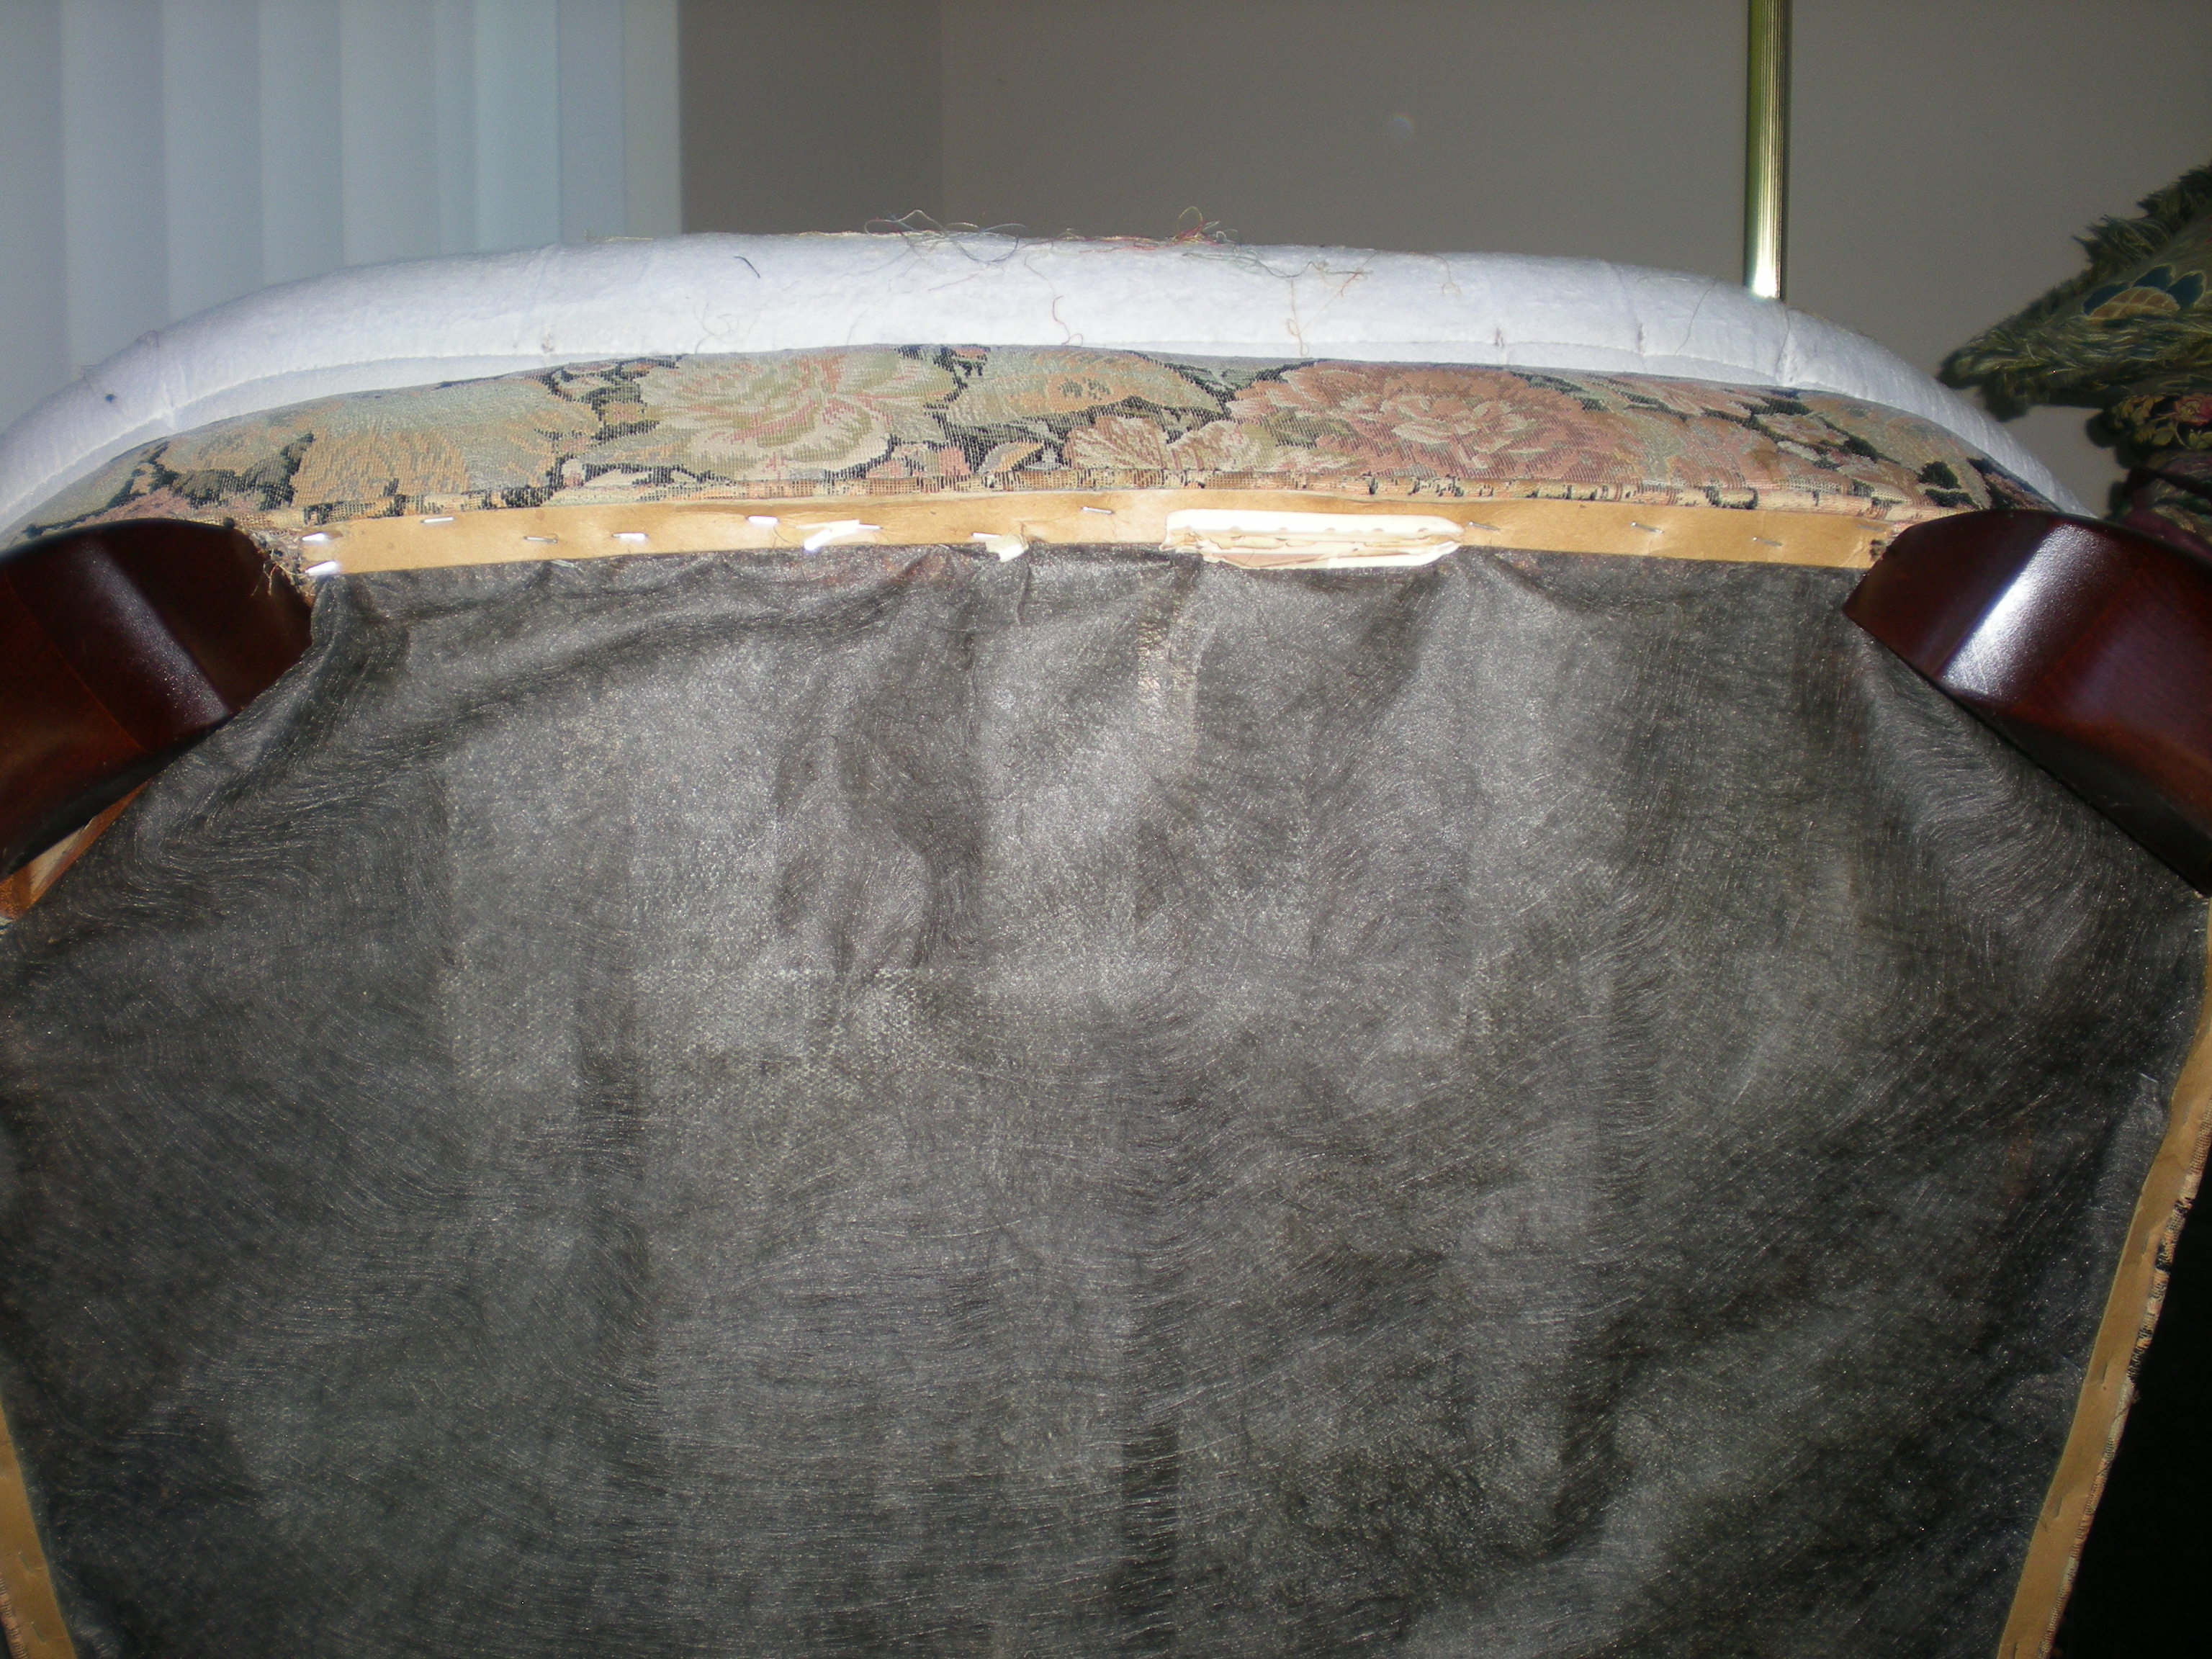
The back fabric has been removed…
…and the cotton batting was stapled all around…
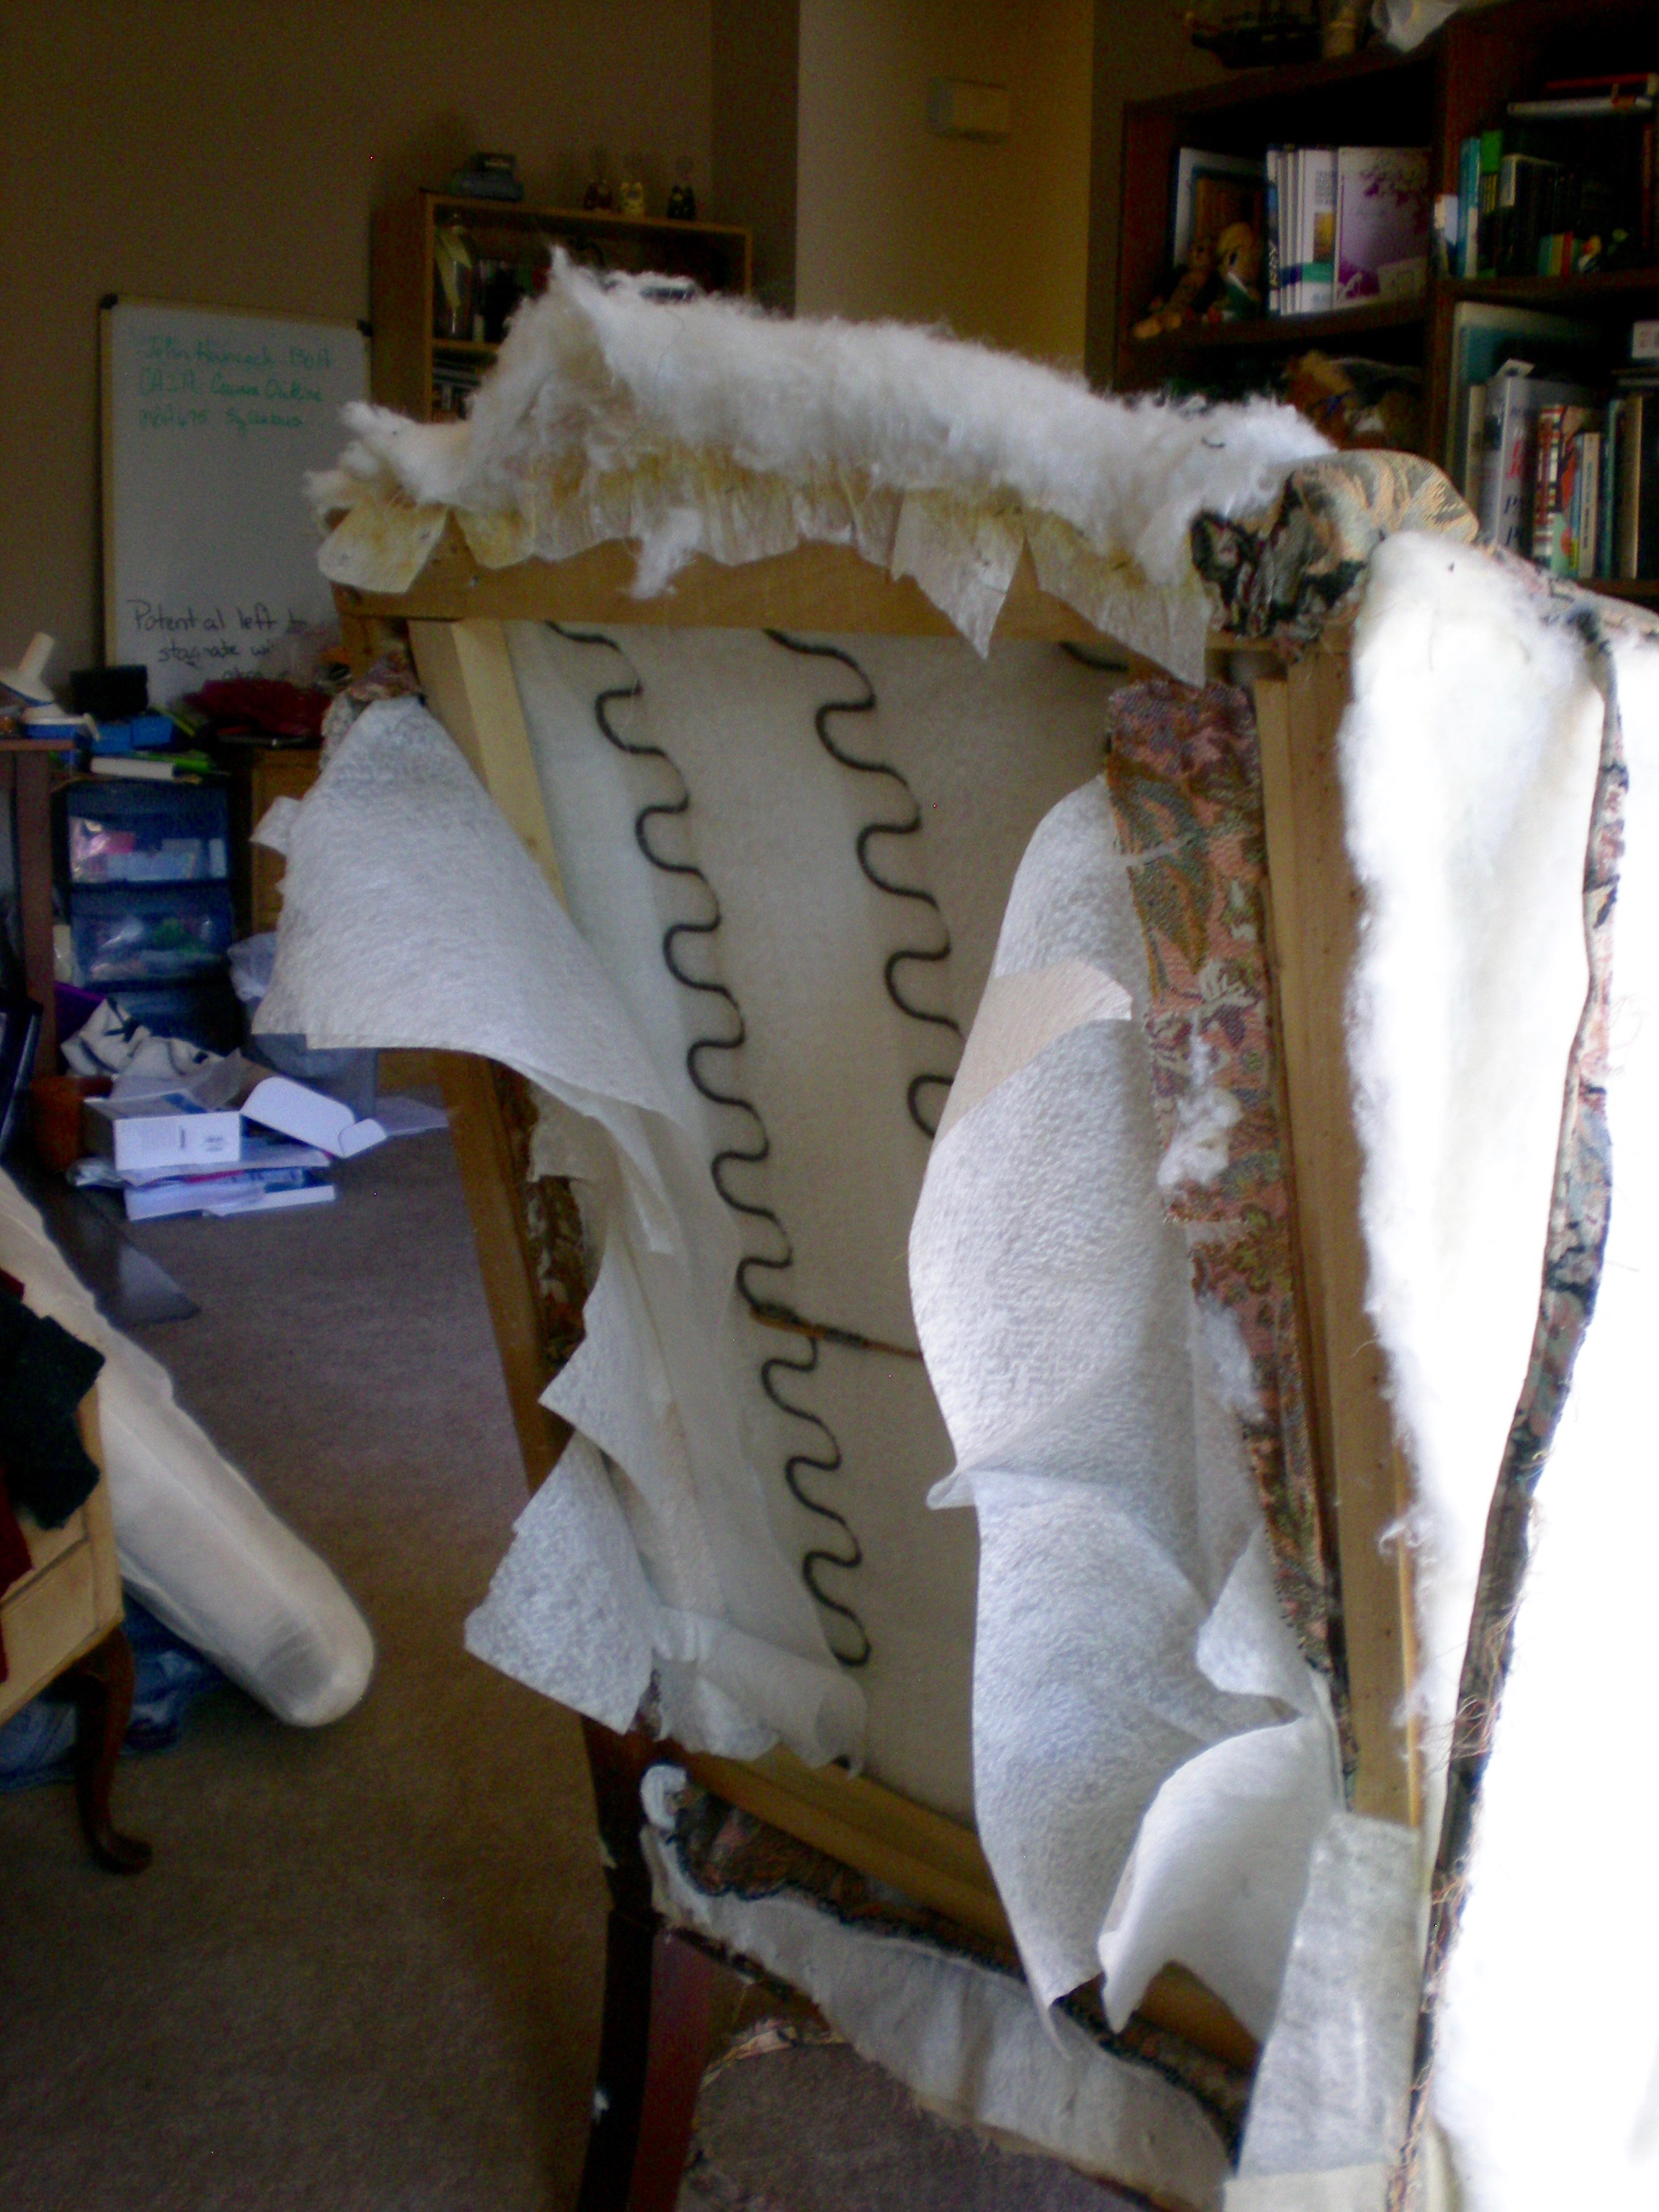
Another couple of hours and the back fabric is off, the back cotton batting is mostly off, and the back muslin is in the process of being removed. We’re doing this in bits and pieces.
the inner workings revealed…
and just to keep the accounting here…total investment to date:
Rubber mallet $5.49
Flathead screwdriver $3.98
Diagonal cutter $15.98
10 yards fabric (likely way more than is needed) $131.10